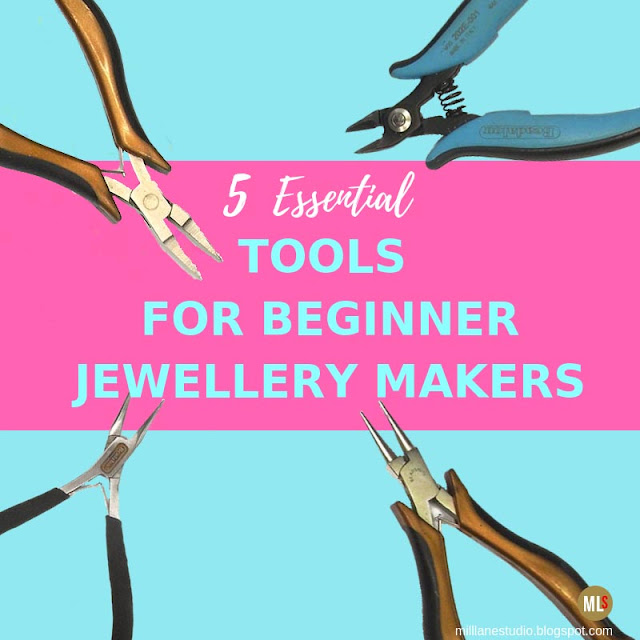
Having the right tools for making jewellery helps you create jewellery that is professional and polished. When you're starting out, you can easily feel intimidated by the huge array of tools available. They all look pretty much the same, right?! Without knowing what each tool is used for, you might even be thinking, "Can't I buy just one pair of pliers and use it for EVERYTHING?" Each pair of pliers has its own unique place in jewellery making. As your jewellery making skills develop, you'll want more and more of these tools. But let's take a step back. There are some tools that are essential . All the rest fall in the "nice to have" category. Today, we're going to concentrate on the ones that you NEED. These are the ones you'll use every time you make jewellery... the workhorse tools that you can't do without. Essential Jewellery Making Tools There's no need to spend a fortune on your tools. You just want to invest wisely and buy......
Friday, February 27, 2015
Jewellery Maker's Basic Tool Kit
Friday, February 6, 2015
Tool Review - Xuron 4 in 1 Crimper Tool
I've been teaching jewellery-making techniques for many years now and one of the things students find most difficult to accomplish is well-formed, secure crimps. The crimping technique takes practice to perfect but once you've got the knack, your jewellery will be strong and will be able to withstand the tug test. Whilst at CHA in January, I came across Xuron who manufacturer jewellery-making tools and they were were kind enough to give me a pair of their crimping pliers to test out. Now this is not just an ordinary crimping tool: Xuron 4 In 1 Crimper Tool crimps 1mm, 2mm and 3mm crimp tubes and in addition, it is also has a chain nose tip to get into very tight spaces. So let's test it out and see how well it performs. The first thing you'll notice is that the crimping station (the notch closest to the handle) is shaped like a "V". This "V" is the feature that sets the 4 in 1 Crimper Tool apart from standard crimping pliers. To use t......
Monday, February 2, 2015
Resin and Bezels with Uneven Backs
If you've ever poured resin in bezels before, you're sure to have come across bezels that don't sit flat. Perhaps they have a pendant bail that protrudes past the bezel, or perhaps it has a snap on the back like the popular "Klik" bezels . Or maybe it's even slightly warped. No matter what the issue, you need to find a way of keeping the bezel level whilst you're working on it and also whilst it's curing. Here's a couple of my favourite tricks to make things just a little bit easier. Place the bezel on a bed of rice or sand so that it sits level. The bezel will easily press into the grains surrounding it for support. Place the bezel over a cavity. Here I'm using a plastic mould tray with deep cavities. Make sure the bezel is supported on the flat surface. This one will slide around a little bit but it's still a good solution if you have nothing else around. But I've kept the best until last - my favourite tip for working w......
Subscribe to:
Comments (Atom)


