It's never too early to get ready for Christmas and to help get you organised ahead of time this year, I've put together an easy bracelet project that will really put you in the festive mood. This bright and cheery Christmas Tree cuff in traditional red, green and gold is easy to put together and easy to wear. Just slide the memory wire cuff onto your wrist and you'll be set to rock this festive season!
Here's what you'll need to make a bracelet of your own:
12 Emerald and gold wave shaped beads 15x12mm
Red electroplated Christmas Tree bead 22x23mm
4 8mm gold stardust metal beads
10 6mm gold stardust metal beads
5 4mm gold stardust metal beads
8 18mm gold rhinestone semi-circle moon spacers: 3-hole
4 25mm twisted gold curved hollow tubes
Gold eye pin
Gold bracelet memory wire
Tools: memory wire shears, flush cutters, flat nose pliers, round nose pliers
Memory wire is made from steel so make sure you always use memory wire shears for cutting it. Regular flush cutters/side cutters are designed for aluminium and copper wire and their blades will be severely damaged if you try to cut memory wire with them.
String a 4mm bead and the Christmas tree onto the eye pin and bend the eye pin at a 90° angle just above the top of the tree. Trim the eye pin to 10mm (3/8") and turn a simple loop.
Cut two 1 1/2 coil pieces of memory wire using the memory wire shears. Turn an outward facing loop at one end of each coil using the round nose pliers.
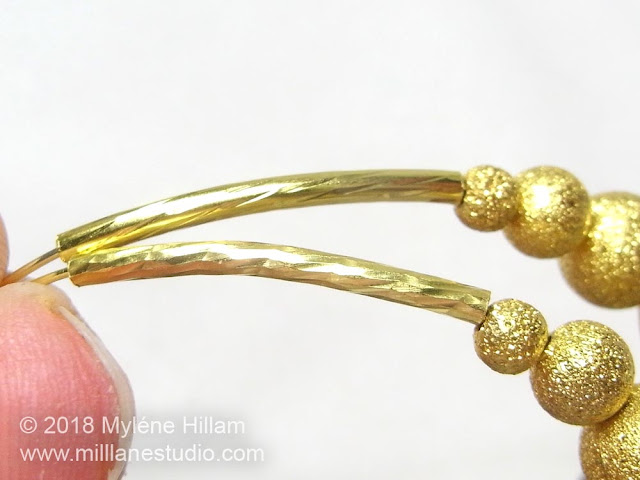
Place the two loops together and string a 6mm bead. Next, separate the two coils and string a curved tube on each one. Then string a 4mm, 6mm and 8mm bead on each one.
String on a green wave bead, a semi-circle spacer, a wave bead, a spacer, a wave bead, and a 6mm bead on each coil. You may need to gently flatten out the curve of the wire whilst you slide on the wave beads.
Thread the top loop of the Christmas tree component onto one coil and the bottom loop onto the other.
Then finish stringing the other half of the bracelet in reverse order.
Push all the beads along the wire, making sure there are no gaps. Trim the wires with the memory wire shears to 10mm (3/8").
Turn an outward facing loop on each wire.
Now you're ready to rock Christmas!
Pin this Project!
'Til next time...

Want to learn how to make jewellery? Click here to find my books and printable pdfs


