Here's a shopping list of the supplies you'll need:
SS 1504202 Realeather leather strip Brown 1.5x42”
BC786 Realeather Rope Edge Concho
T3630-20 20L Snap Setter Kit
Embossing folder: Leaves and branches
DecoArt Metallic Lustre: Brilliant Turquoise; Copper Kettle; Burnished Brass
48mm ornate round brass or antique gold filigree
3 assorted leaf charms in brass and silver
Two 4mm brass jump rings
One 4mm Silver jump ring
Beacon Power Grip Adhesive
Tools: Sizzix Big Shot, chain nose pliers, screwdriver, 4mm hole punch, 2mm hole punch, hammer, scissors, ruler, permanent marker
Measure your wrist and add 6mm (¼”) for comfort and 12mm (½”) for the closure. Cut a strip of leather to this length.
Place one end of the leather strip in the embossing folder and run it half way through the die cutting machine to emboss it. Remove the leather from the embossing folder and place the other end of the leather strip in the folder and emboss it.
Using your finger, lightly rub the turquoise metallic wax over the embossed pattern. Highlight the texture with the brass and copper metallic waxes.
Punch a 4mm hole in the middle of the bracelet.
Apply adhesive to the inner opening of the brass stamping.
Centre it over the hole and allow the adhesive to dry before proceeding.
Insert the shaft of the concho screw through the hole, place the concho on top and tighten it.
Open two brass and one silver jump ring. Place a charm on each and insert through the loop of the brass stamping.
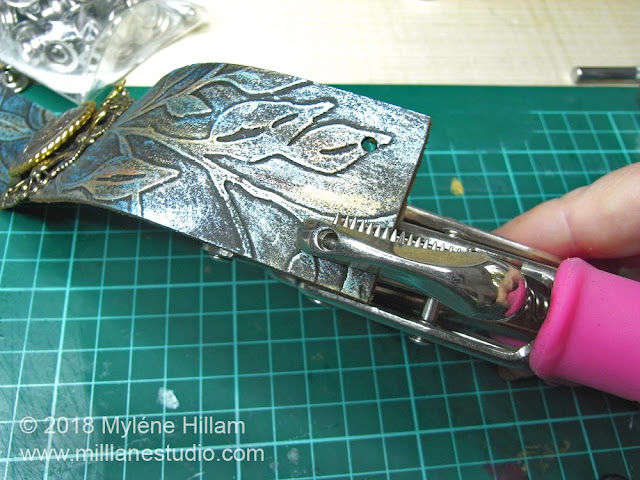
Mark the positions for the snaps at either end of the bracelet. Position them approximately 3/8” from the ends and the sides of the leather. Punch a 2mm hole at each mark.
Follow the instructions included in the Snap Setter kit to attach the snaps.
And now you can wear your "tooled" leather cuff!
Here are some other leather projects you might like:
Crystal embellished leather cuffs
How to set snaps in leather
Pin this Project!
'Til next time.....
Want to learn how to make jewellery? Click here to find my books and printable pdfs


