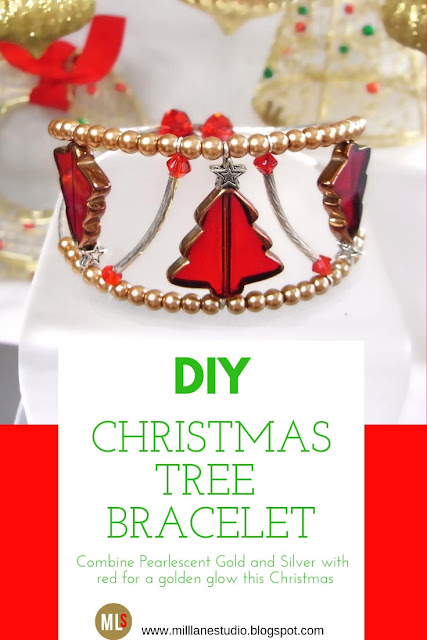
Memory wire is such an under utilised stringing material. It's a great place for beginner jewellery-makers to start, but there's so much more that you can do with it when you get creative, making it an ideal stringing material for advanced jewellery-makers too! This Christmas cuff shows how it can be used to create sculptural pieces that will belie it's humble status as a beginner's stringing material. But the clever thing is, it uses just one technique: hot to turn loops. Read on to see how to make it.
Here's what you'll need:
4 4mm red bicones
3 50mm silver eye pins
Tools: Memory Wire shears, Flush cutters, Chain nose pliers, Round nose pliers
Cut two 2” lengths of wire. Create a loop on one end of each wire. String on a red bicone and a curved tube, making sure that the eye of the pin is sideways to the tube. String a second red bicone and turn another loop in the same direction.
String a Christmas tree and a star on each eye pin and turn a loop.
Cut two coils measuring 1¼ rings from the memory wire using the memory wire shears. Turn an outward facing loop at one end of each coil using the round nose pliers.
With the loops of the two coils together string on a red rondelle.
Separate the wires and string two curved tubes and 3 glass pearls on each one.
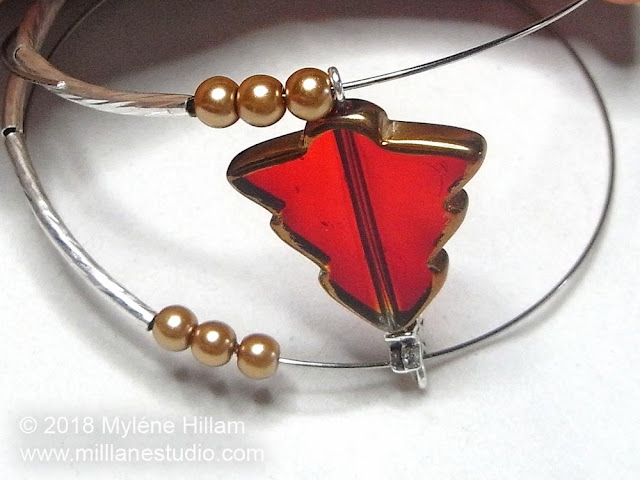
String on a Christmas tree component upside down.
On the top coil, string six glass pearls. On the bottom row, string two glass pearls.
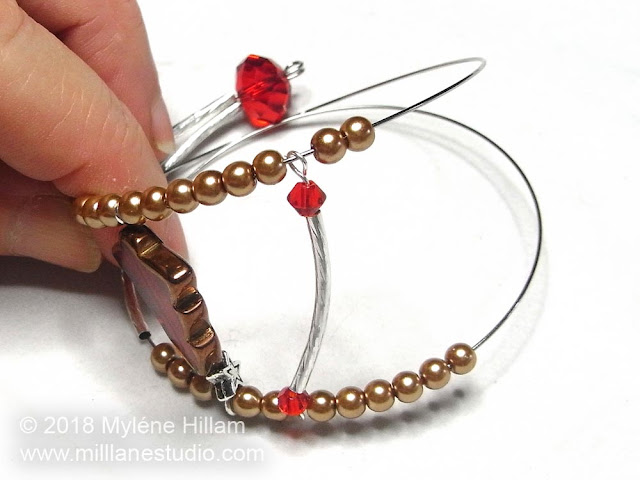
String a curved tube component with the outside of the curve facing towards the center of the bracelet.
On the top coil, string two glass pearls and on the bottom coil, string six pearls.
String a Christmas tree right way up.
On the top coil string two glass pearls and on the bottom coil string six glass pearls.
String the second curved tube component with the outside curve facing towards the centre of the bracelet.
On the top coil, string six pearls and the bottom loop of the third Christmas tree. On the bottom coil, string two pearls and the top loop of the Christmas tree.
String three pearls and two curved tubes on to each wire and then bring them back together. String on a red rondelle.
Push all the beads along the wire so that there are no gaps between them. Trim the wire using memory wire shears to 3/8” (10mm). Turn a loop on each wire.
Techniques used in this project:
Turning loops on memory wire
Turning simple loops
Pin This Project!
'Til next time....

Want to learn how to make jewellery? Click here to find my books and printable pdfs


