Most times when I measure out resin, I usually mix up a little more than my mould needs just in case I have a spill. But because I hate to waste resin, I usually pour whatever's leftover into something else, like a smaller mould or a small cup. After a few resin sessions, I end up with little pots of striped resin, like these.
Pretty cool, huh? They're all sorts of colours I'd probably never put together but that's part of their charm!
So now that they've cured, what can you do with them?
Lately, I've been turning them into rings.
Depending on which way you slice the cups, you can have the stripes running in any direction you like - something that pouring into a ring mould doesn't allow you to do!
It's quite a lengthy process but the end results are totally worth it! But before getting underway, I need to stress that this is not a Beginner's project!
Safety First
Before getting into the project, I'd like to talk about safety. Just as when you're working with resin, there are things you need to do to ensure your safety whilst you work at transforming that cup into a ring. This project uses power tools, so you need to wear protective eyewear whenever you're cutting, grinding or sanding. And a particulate dust mask whenever you're producing fine dust. It's even better if you can extract the dust away or use a shop vac with a HEPA filter to catch the fine dust the sanding creates. If none of these options is available to you, skip the power tools and do all the cutting and sanding by hand and sand with water to catch the dust.
With your safety now taken care of, let's get into the process of how to turn a resin-filled cup into a smart, stripey ring.
Tools
There's only one essential power tool required for this project: a drill and a spade bit to cut the ring hole. All the other power tools just make the job faster. If you don't have these tools, you can do all the cutting, shaping with hand tools and the sanding by hand.
Here's what I used to complete this project but see notes throughout the instructions for what you can manage without:
Bench Vise
Saw (I used a Japanese saw and a coping saw - they both work equally well)
Quick-release clamps
Drill with spade bit (I used 16mm but choose one that is slightly smaller than your ring size)
Ruler
Permanent marker
Belt sander
JoolTool
JoolTool ninja microfinishing disks: Coarse, Medium, Fine and Very Fine (60, 30, 15 and 9 micron). You'll also need back pads fitted with cushion backings
MicroMesh Sanding Kit: 1500, 1800, 2400, 3200, 3600, 4000, 6000, 8000 and 12000 with Micro-gloss Liquid Abrasive and flannelette cloth
If you're hand sanding, you'll also need 180g and 400g wet/dry sandpaper
Personal Safety Equipment:
Goggles or wrap-around safety glasses
Particulate mask
I also use a shop vac with HEPA filter to catch all the dust that's created whilst cutting and sanding
How to Cut a Slice from the Resin Block
If you have a bench vise:
Position the resin block in the vise securely and use a saw to cut away the round walls on one side of the cup. This is the Japanese saw in action. It rips through the resin very quickly but it leaves a deep saw pattern.
If you don't have a bench vise:
Position a block of wood on your work space, place the resin block on the wood - bottom up to make it more stable - and clamp it down with a quick release clamp. You'll need to position the clamp off to the side so that you can saw the wall of the cup away.
Make a second cut through the middle of the cup. I switched to the coping saw for this cut, just to compare the two cuts.
I found that the coping saw cut through the resin quite easily too and the teeth marks were not quite as deep as they were with the Japanese saw but I forgot to photograph the other side to show you.
Now it's over to the Jool Tool to remove the cut marks left by the saw and to sand it smooth. Doing the sanding at this point isn't essential but its easier to do some of it now before cutting the ring's hole.
If you don't have a Jool Tool, skip down to Cutting the Hole
Start with the coarse disk. Dip your finger into water and then wet the surface of the resin. When mechanically sanding resin, you need to use low speed so turn the Jool Tool on and adjust the speed to the lowest speed it will go. If you use a high speed, the resin will overheat. Place the resin slice up against the wheel with light pressure and sand away all the cut marks. It will splatter a bit as you sand and dry off really quickly so add a bit more water.
After sanding with the coarse disk, the vertical saw marks will be replaced by the scratch pattern of the coarse disk.
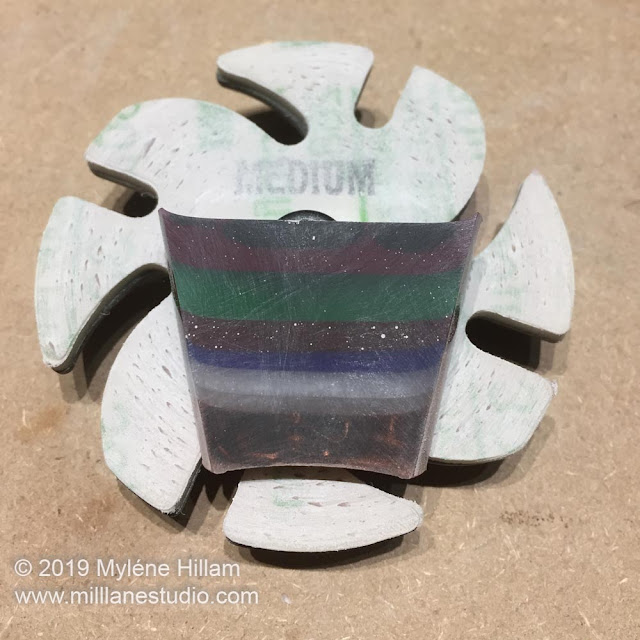
Move on to the medium disk and sand with water until all the coarse scratches have been removed.
Progress to the Fine disk and.....
....finally, to the Very Fine disk. There is still a lot more sanding required but that will come later.
Cutting the Hole
Clamp a block of wood to the bench. Clamp the resin slice onto the wood and make sure it is secure. You don't want it spinning when you start drilling the hole.Fit the spade bit into the drill and slowly drill a hole in the centre of the resin slice.
Shaping the Ring
Draw the shape of the ring onto the resin with the permanent marker.Place the ring into the bench vise or clamp it down on a block of wood and cut the ring to your desired shape.
Alternatively, you can shape the ring on a belt sander. I've turned the belt sander off here rather than take an action shot as it just isn't safe to try to juggle a camera whilst using this machine. The belt sander is fast and efficient but you really need to have your wits about you.
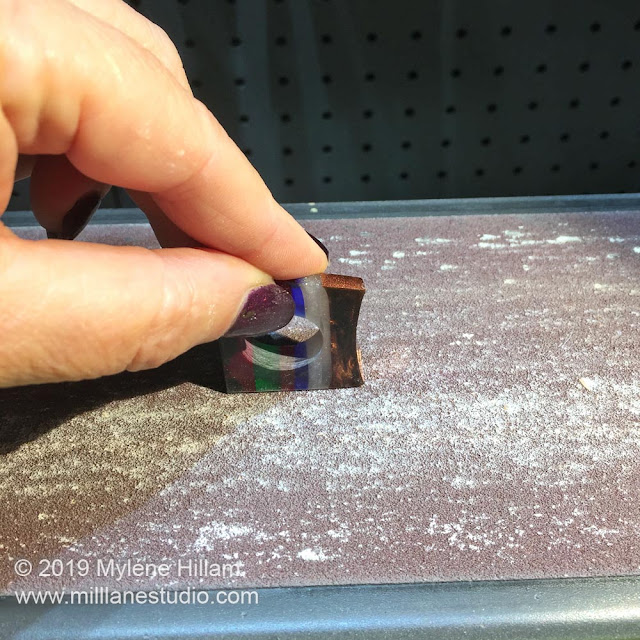
Once you've shaped the ring, it's back to the sanding. If you did the initial sanding to remove the saw marks, then you can move on to final sanding and polishing. But if not, use 180 grit sandpaper and water to remove the saw and spade bit marks and then move on to 400 grit. As you sand the hole, keep checking it for fit so you don't over enlarge it.
Final Sanding and Polishing
If you have a JoolTool start with the coarse disk and sand the ring on all sides until no scratch marks from the 400 grit paper remain.Remember to use the slowest speed that you can dial the JoolTool down to.
Progress through the medium, fine and very fine disks. If you can still see deep scratch marks after any grade, then you need to backtrack a step (or two!) to remove them before continuing.
Switch to the buffing wheel at HIGH SPEED and buff the ring to a high shine.
Apply a small amount of Micro-gloss liquid to the flannelette cloth and polish the resin all over. Buff to a high gloss with a clean part of the cloth and you're finished!
If you don't have access to a Jool Tool for this project, you can achieve the same finish by hand sanding using a Micromesh Sanding kit. You'll need to start at 1500 and work your way through all the grades. Give the ring a highly polished finish by using the Micro-gloss liquid as above.
Pin this Project!

Subscribe to my email list and learn how to resin like an expert.


That is so cool! Each time I venture over here, I find something new!
ReplyDelete