One of the first things you quickly learn about working with resin is that it's incredibly sticky while it cures—think honey on a hot day. But here’s the kicker: unlike honey, resin goes on to set rock hard. So accidental spills and mishaps can turn into a real headache and it can be a real challenge to remove the resin. When you're in the zone, lost in your creative flow and your hair falls onto your face or eyes, it's easy to subconsciously swipe it away with a sticky glove. Or maybe you lean over a resin pour to grab something and—oops—now you've got sticky resin in your hair. So what do you do when that happens? If you're a free spirit and like the unicorn look, then go with the flow... add some glitter, let it set and embrace your sparkly new look!🦄🌈✨ But let’s be real—if you’ve got resin in your hair, you need a solution , and FAST. If you have long, lustrous hair, your first instinct is probably to cry... and cry... and cry at the thought of having to cut......
how to
Showing posts with label how to. Show all posts
I LOVE Christmas and all the feel-good festivities that bring my family and friends together at this magical time of the year. When Christmas starts appearing in the shops in October, I'm excited to check out the season's colour trends and admire all the beautiful ornaments that are this year's must-have decorations. It feels like you have months to get your holiday decorating organised in October. And then suddenly, it's December... Christmas is just around the corner, and the shops are starting to sell out of all the beautiful decorations you had your eye on. Never fear... if you've got resin and a mould, you can make your own gorgeous holiday ornaments that will make your tree beautiful, and they will have even more significance because YOU MADE THEM. These 3 elegant ornament designs were all made using just a single mould . So you're probably thinking it will take days to make them. But not so... I poured and dem......
I got totally drawn in by the moving limbs of this skeleton mould. It was ideal for making Halloween skeleton earrings... but I like my moulds to be versatile to get good value from them. With a minor tweak to the embellishments, you can easily turn the skeleton into a Calavera design. These are seriously neck-tickling earrings for Day of the Dead festivities? While this is an EASY resin project, it's a little fiddly because of the size of the body parts, so spooning the resin into the mould works much better than trying to pour it. You'll also find tweezers, fine-tipped adhesive, toothpicks and a crystal positioning tool really helpful as you work through the steps. Here's a list of supplies you'll need: Epoxy resin Graduated measuring cup Plastic Makeup spatula White resin pigment Skeleton mould 3-6mm clay flowers 2 small flatback crystals G-S Hypo Cement 20 x 6mm jump ri......
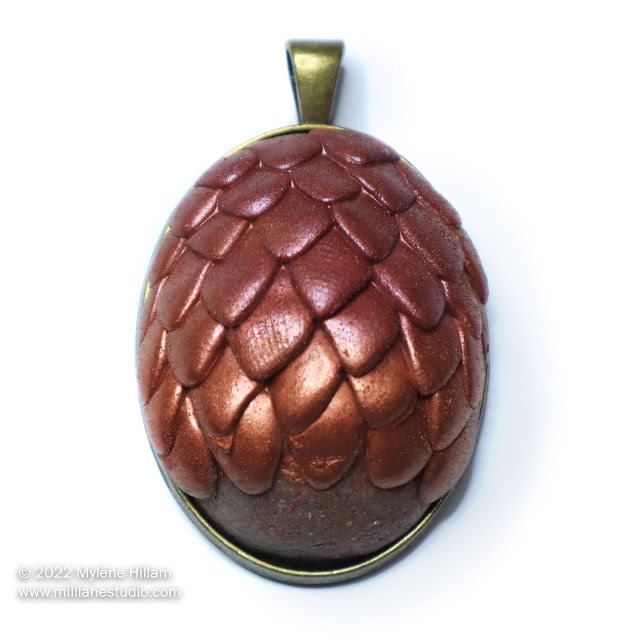
Game of Thrones fans and LARP aficionados, you know you can't resist a good dragon's egg. Those 3 Dragon's eggs made famous by Danaerys Targaryen have inspired numerous tutorials using all sorts of materials and techniques to create dragon's eggs from miniature size right up to "life-size" eggs. I made this SUPER AWESOME dragon egg pendant using resin and mica powder from a mould I made myself. Before I could do that, I had to MAKE the silicone mould... And before I could do that, I had to create a dragon egg from clay to make the mould. So that's where we're starting today - creating a dragon egg from clay that we can make a mould from. If you want to skip these steps and work with a premade silicone mould, go straight to the resin tutorial to make this spectacular pendant. If you want to start from scratch and make your own dragon egg mould, read on. Materials (to make the original egg and mould): Apoxie Sculpt or similar epoxy clay Easy......
One of the most long-lasting and beautiful ways to preserve flowers is to embed them in resin. But resin can actually damage the flowers and spoil your beautiful blooms. It can: Fade the petal colour... Create "wet" spots on petals... Turn the petals completely translucent... or even... Scorch the flowers so they look overcooked! So, how do you prevent those things from happening? The solution is to seal the flowers BEFORE embedding them in resin. Sealing flowers creates a barrier between the flower and the resin that stops the resin from penetrating the cells. Sometimes, the resin doesn't penetrate the flower surface, but there's no way to tell if your flowers will be affected by the resin until AFTER you embed them, so the safest thing is to seal them first. Here are 3 different methods you can use to create a barrier between the petal and the resin. You can skip to each one by clicking the link: 1. Paint them with white craft glue that dr......
Subscribe to:
Posts (Atom)