Ah, the simple joy of gazing into a goldfish bowl! There's something so
soothing about it, isn't there? It's like having a pond right on your desk
or shelf where you can peer into a miniature underwater world and lose
yourself in thought.
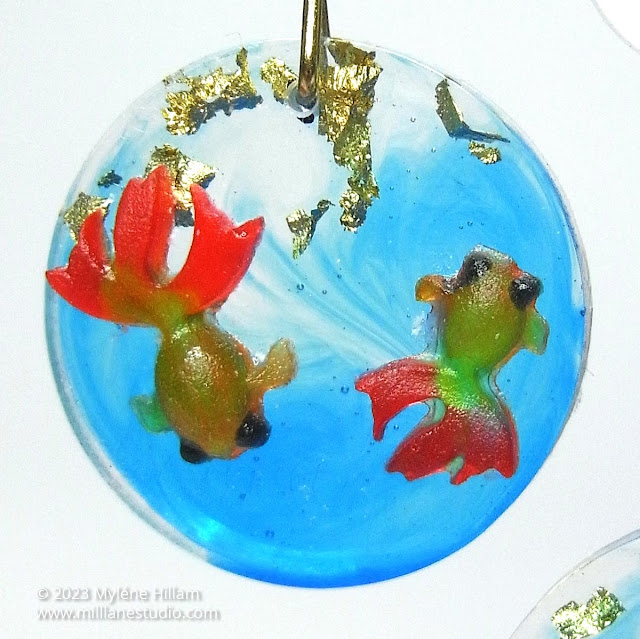
Ever dreamt of wearing a tiny aquarium on your ears? Well, today's your
lucky day because we're diving (pardon the pun) into the miniature world of
DIY Goldfish Bowl Earrings with UV resin.
These little underwater wonders are not just accessories; they're
conversation starters, mood lifters, and miniature works of art all rolled
into one.
So, grab your UV resin, jewellery moulds, and a sprinkle of creativity –
follow the step-by-step instructions and make your own fin-tastic goldfish
bowl earrings.
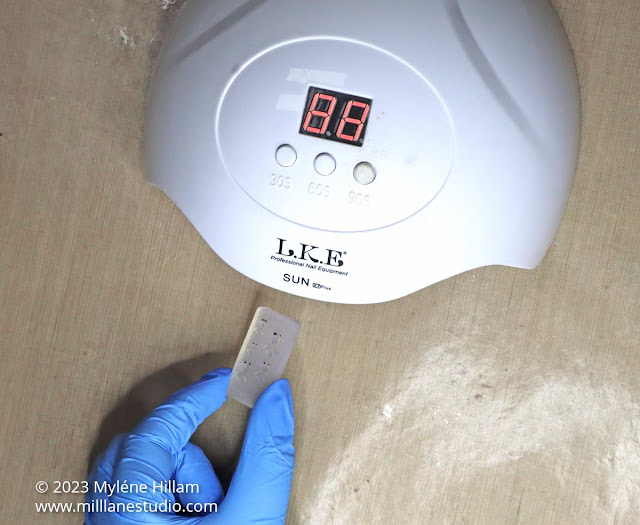
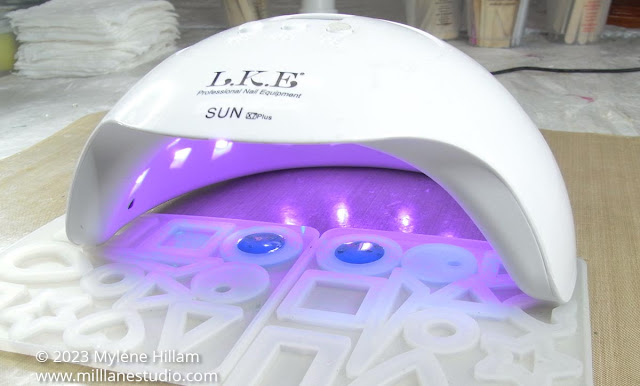
36 Watt nail lamp (this is the exact one I use in this tutorial - the resin cures in less
than 3 minutes
goldleaf flakes
6 toothpicks
2 gold earring wires
2 small gold jump rings
2 large triangle jump rings or 20g gold wire
(see Assemble the Earrings if you want to make your own)
chain nose pliers
flat nose pliers
flush cutters
drill and piece of wood (if your mould doesn't have a hole)
permanent marker
How to Make Resin Goldfish
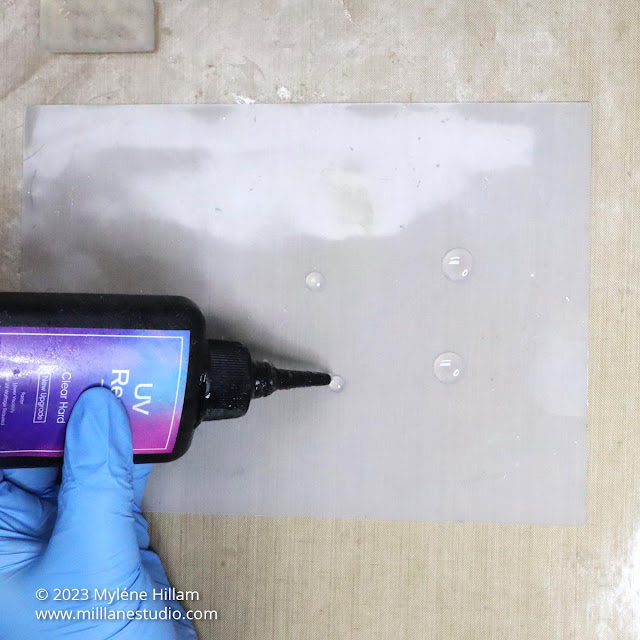
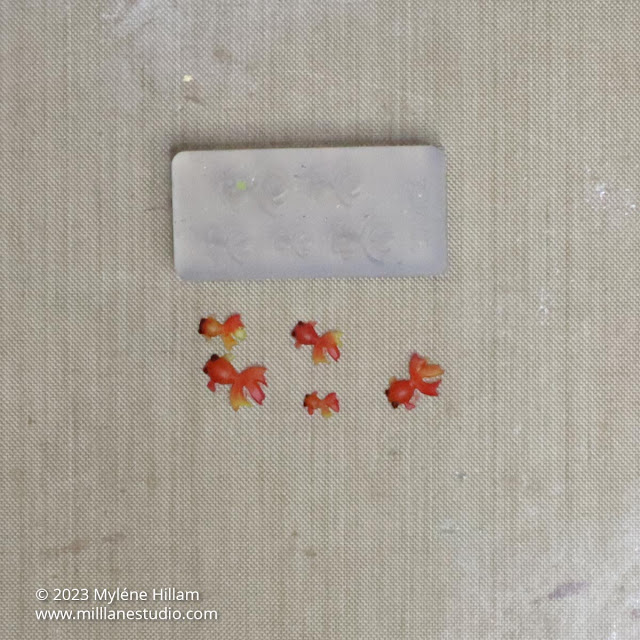
I used 5 different UV resin colours to create the goldfish and the water.
With the UV resin and lamp I've recommended, it will be about 3 minutes.
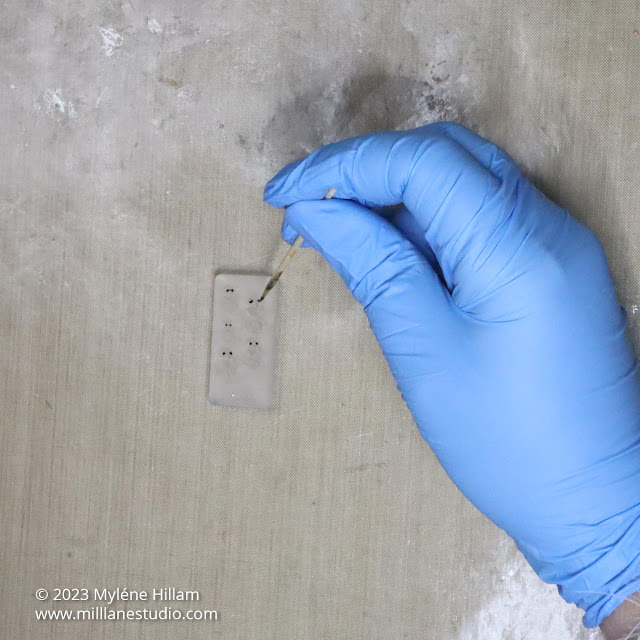
Now it's time to colour the goldfish. Dab a small amount of the red, yellow
and orange resin into each goldfish. The toothpick will help you draw the
resin out to the tail and the fins.
Once you've filled each goldfish, mix the colours where they meet so that they
blend.
Cure the resin until it is no longer sticky. That can be as little as 3
minutes or up to 10 minutes.
This is important: Flip the mould over and then cure the underside of the
mould.
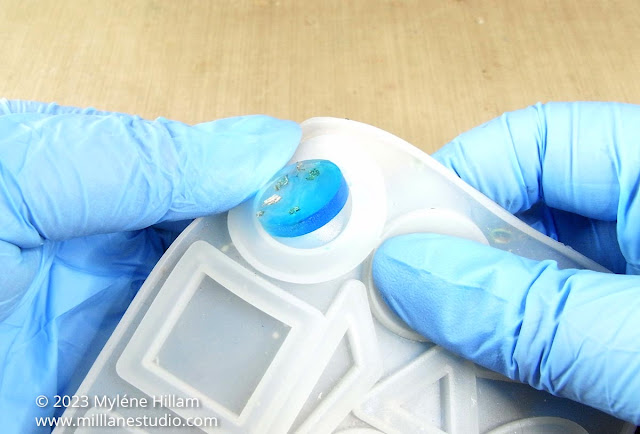
Once the pieces are cured, you can remove them from the mould by flexing the
silicone. Set the goldfish aside.
How to Make the Resin Goldfish Bowl
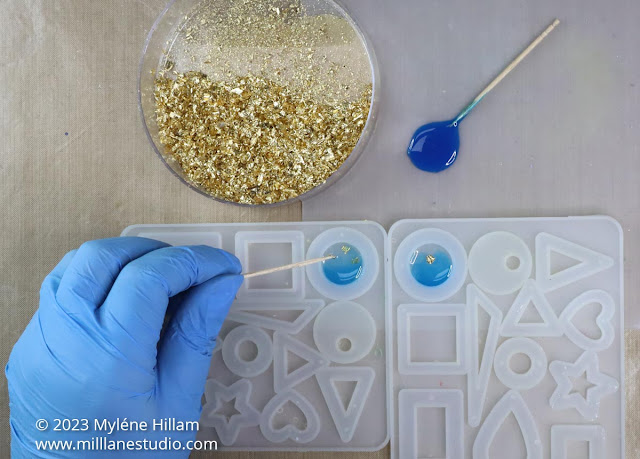
Squeeze out a few drops of clear resin onto the silicone mat and colour it with one drop of blue UV resin colourant.
Mix it thoroughly.
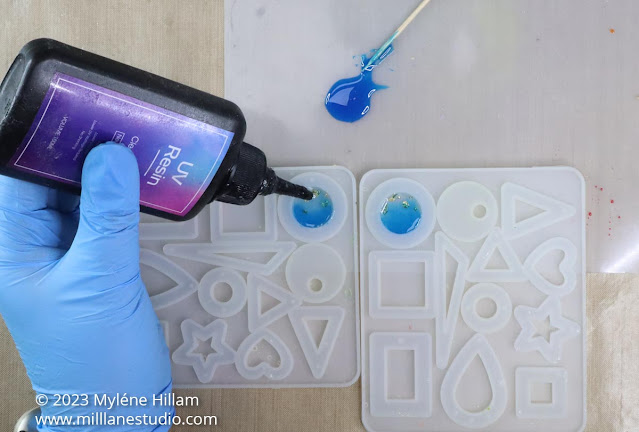
Cover the bottom of your circle mould with clear resin. To get UV resin to
cure, it's best to work in layers. For this mould, I will do 3 layers to fill
the circle.
Tip: Here, I'm using the BACK of a jewellery mould that has a circle.
This is a great way to get extra mileage from a mould. Look at all those
other shapes on the back that you can use!
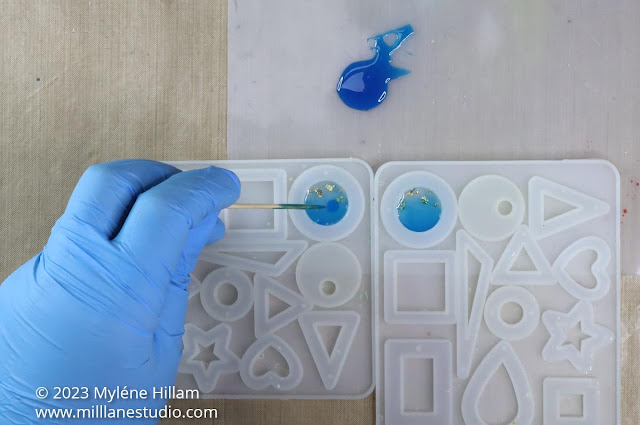
Pick up a drop of the blue resin and swirl it through the bottom section of
the mould.
Add a few small specks of gold leaf in the clear section at the top of the
circle.
Cure the resin until it is no longer tacky.
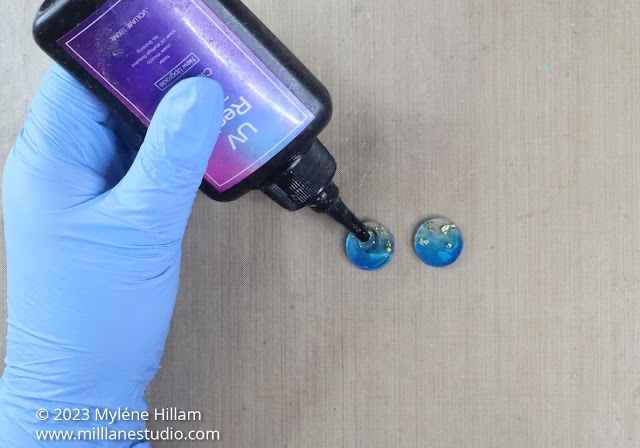
Squeeze more clear resin into the cured resin. Make sure you leave room for a
third layer.
Assemble the Goldfish Bowls
If your mould doesn't have a hole in it, then you'll need to drill one. Use the permanent marker to place a mark at the top of each circle.
Drill a hole in each piece.
UV resin is a great glue so you can use it to adhere the goldfish to the
circles. Apply a small amount to the back of each goldfish, position them on
the circle and cure them.
Alternatively, you can use
G-S Hypo Cement
or E6000 with fine tip nozzle.
Assemble the Earrings
A triangle jump ring works better than a round jump ring in this design
because of the thickness of the casting. If you can't find ones large
enough, you can make your own with the gold wire. See how to make triangle jump rings here.
Tip: If your circle is thinner, you can use a round jump ring instead.
Open the triangle jump rings slightly wider than the thickness of the resin
circles.
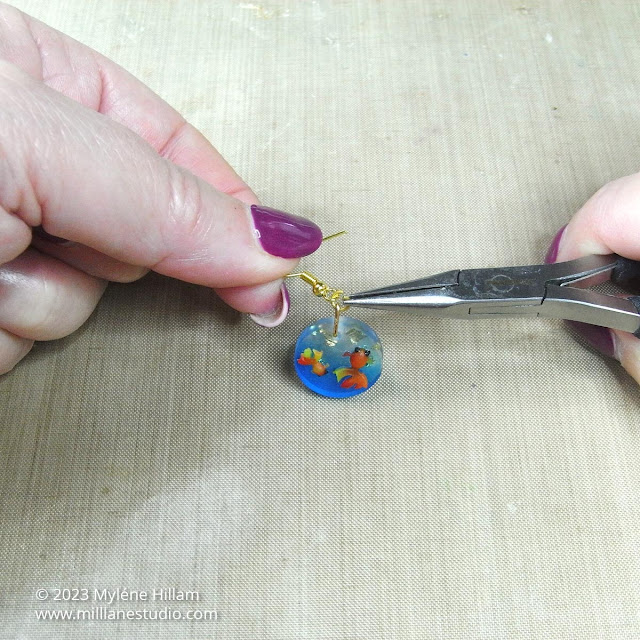
Insert the prongs through the hole in each circle and squeeze them
closed.
One final thing when assembling your earrings: make sure the earring wire is
facing the right direction before you close the jump ring!
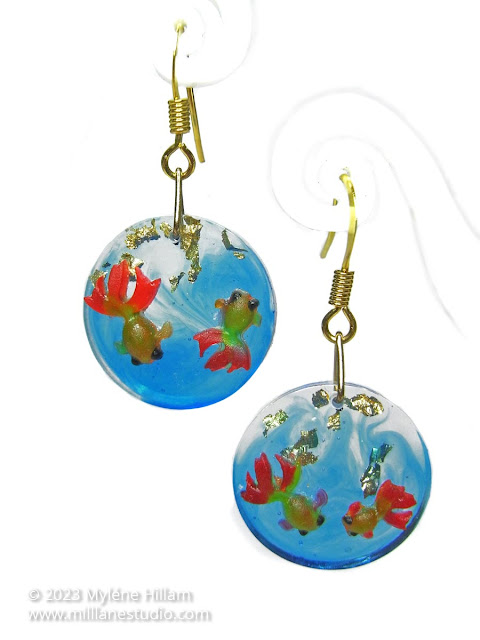
And there you have it! Your very own pair of whimsical Goldfish Bowl
Earrings... a little underwater world that you can wear every day.
Pin This Tutorial!

Subscribe to my email list and learn how to resin like an expert.

