Sometimes, things don't go quite as planned: I had bad pours, spilled resin, bubbling issues, cross contamination, you name it, I seemed to be clumsy enough to do it. It was just one of those days!
But that's not what this post is about. Those mess ups give me the opportunity to show you some of the things that can go wrong when working with quick curing polyurethane resin so that you can avoid them.
Now, let's take a look at a couple of the things that didn't go according to plan.
If you're working with epoxy resin, you might find this video useful:
"Dealing with Bubbles in Resin".
Contaminants in Resin
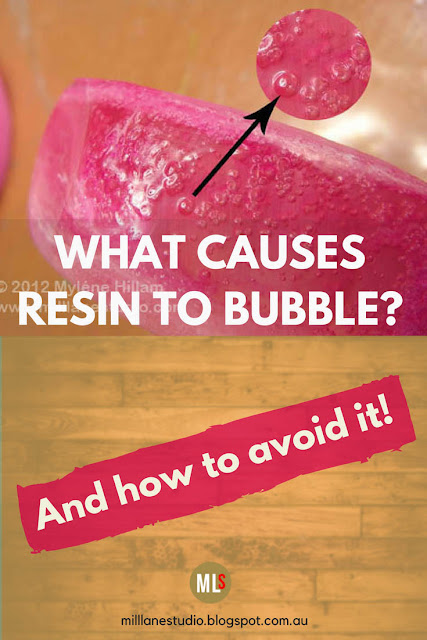
The first bangle has a little bit of bubbling in the resin (not unusual for polyurethane resin) but the biggest problem is what I'd describe as warts on the surface.The culprit here is contaminated resin dye. A crack in the lid of the colourant I used has allowed moisture to contaminate the dye. Mix with resin and you get warts and bubbling. Polyurethane resins HATE moisture!
Lesson: resin and moisture do not mix!
This second bangle has also been affected by moisture.
The resin has expanded and foamed and looks like the froth on a chocolate milkshake!!!
But this time the issue is that the resin has been contaminated from moisture that got into either the resin or the hardener. This can happen when you open and close the bottles in humid conditions.
Fresh polyurethane resin should look translucent like the middle bottle (even when it’s amber coloured!). The bottle on the left is moisture affected. Notice how it looks almost opaque. It's more obvious in the enlarged picture on far the right.
This is a sure sign that moisture has got into the bottle. Leaving the lid off for any length of time or just opening and closing the bottle each time you use it can cause this. Obviously, you can’t pour resin without removing the lid, but you can minimise the amount of moisture that gets into the bottle. Here's three things to do:
- Always put the lids back on as soon as you’ve measured out each part of the resin.
- Spray a dry air blanket into the bottle. It will expel the moisture before you put the lid back on.
- Buy only as much resin as you can use in 6 months and use it all up once you open it.
What else to watch out for when working with Quick Curing Polyurethane Resin
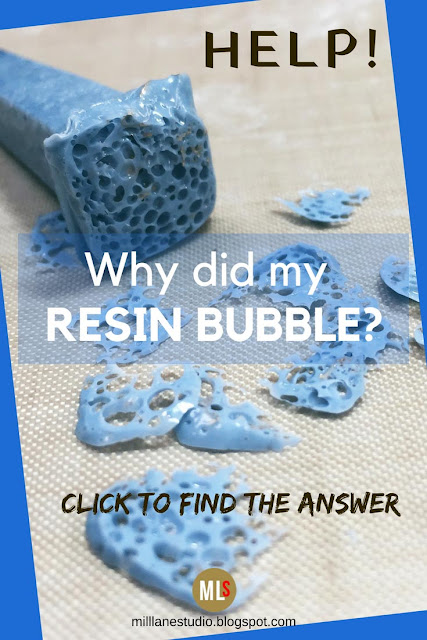
Humidity!Without a doubt, humidity is your enemy when working with polyurethane resins. Humidity causes additional bubbling inside your cast pieces. Whether you like this “lemonade” look or not, it’s a problem when your casting needs trimming because no amount of sanding can fix the sponge effect that trimming will leave behind.
I highly recommend you invest in a digital humidity gauge and then you’ll always know whether it’s too humid or not. Cast polyurethane resin on days when the humidity is below 50%. If the humidity is higher, then the best thing to do is turn on the air conditioner... even better if it has humidity control.
Unmixed Resin Doesn't Cure
In this next bangle I have a totally different problem. I've seen this happen once or twice before with beginners but I had never experienced it myself until now. And I'll have to be honest here and say I've never seen it THIS BAD before!What you are looking at here is the swollen outside edge of a bangle. It looks like it has a fat lip!
In the photo below, you can see how it has puckered on the inside, looking a lot like a kiddie's inflatable swimming pool.
The culprit here is operator error. I have not mixed the resin well enough and inside the outer shell of cured resin is uncured, unmixed resin.
Lesson: Follow the manufacturer's instructions and make sure the resin is thoroughly mixed.
So take heart: even experienced resin crafters get less than perfect results sometimes. Keep in mind these two very important points and you can avoid these ghastly mistakes. Resin really is fun and easy to work with when you do it properly.
Subscribe to my YouTube channel for more resin tips and tricks.
Pin this tip for later!
'Til next time.....

Subscribe to my email list and learn how to resin like an expert.


Thanks for sharing
ReplyDeleteGlad you found it helpful!
DeleteI was given a starter kit by a friend. Scared of the material. Want to try to use it. Your post is very helpful. Your explanations are crystal clear. Blessings for this support.
ReplyDeleteI hope you love your journey into the world of resin.
DeleteWatch my video on choosing the right resin for your project too. It's super helpful when you're starting out and not sure which resin you should use: https://youtu.be/N0QdhqHgsN0
Thank you so much for this information. I've bought all kind of supplies. I'm ready to dive in headfirst. And I will take it slow Oh, well, maybe not too slow 😂. I will Do plenty of projects to get my feet wet And I will forgive myself for my mistakes. 😂 thank you again for the help. Have a great day ❤️.
ReplyDeleteYou're welcome, Rita. Keep in mind, that each different type of resin has its own characteristics (e.g. polyurethane HATES moisture; epoxy is slow to cure, etc). If you'd like to know more about the different types of resin and what they're best suited for, check out this post: https://milllanestudio.blogspot.com/2016/08/how-to-work-out-what-resin-to-use-for.html
ReplyDelete