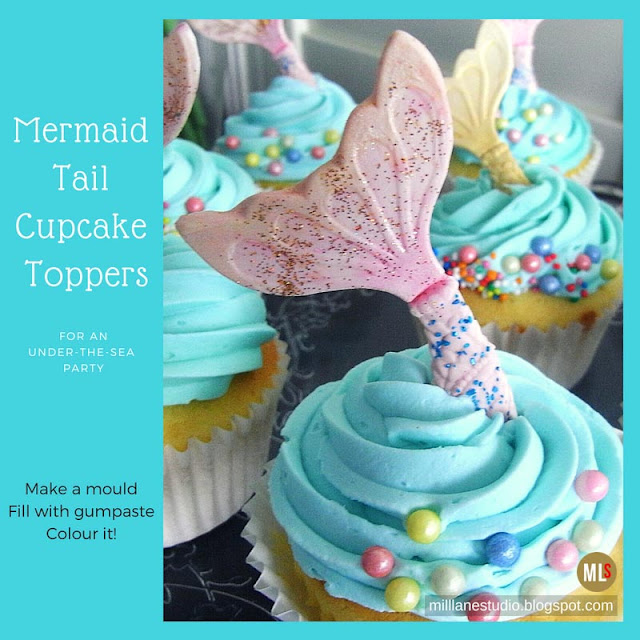
What little girl wouldn't be thrilled to have mermaid cupcakes for her birthday party? Or for that matter, what big girl wouldn't want mermaid cupcakes? After all, inside every big girl is a little girl at heart! So I'm decorating a batch of these for my Mum's upcoming birthday celebration. But to start, we need to make a mould and I found the perfect item to make one from whilst I was wandering through the toy aisle recently. So, let's get started.
Here's what you'll need to make your own:
- EasyMold Silicone Putty - This is a food grade silicone and it's FDA compliant so it's perfect for this project
- Mermaid doll with a plastic tail about 7.5cm (3") long
- White Gum Paste
- Pastel Pink edible paint
- Edible Pearl Gold lustre dust
- Edible Pink lustre dust
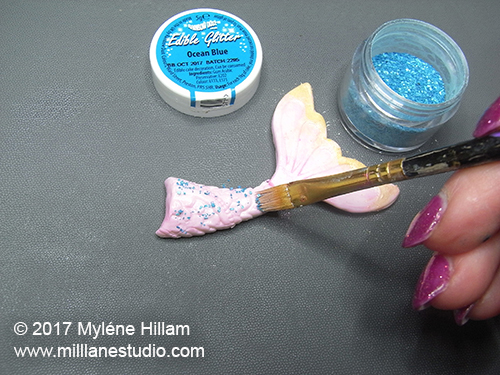
- Edible glitter - Light Blue
- Disco Glitter - Gold
- Paintbrush
- cupcakes frosted with blue buttercream icing
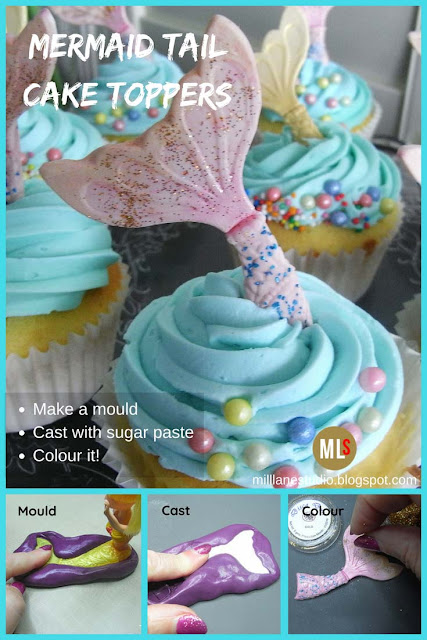
Make the Mermaid's Tail Mould
Measure out equal parts of Parts A and B of the Silicone Putty. To work out how much you need, I take one part and flatten it out into an oval shape about 6mm (1/4") thick. It should be at least half the length of the mermaid's tail. Roll that into a ball and then take the same amount of the other part.Now you have to work quickly as the silicone putty sets quite quickly. Blend the two parts together until there are no streaks and the silicone is a uniform colour.
Shape the mixed putty into an a rough oval shape, wider at one end than at the other. Press the mermaid's tail into silicone and pull the walls up and over a bit to cup the tail slightly. Make sure the mould is at least 6mm (1/4") thick.
After about 25 minutes, the silicone should be set. To test it, press your nail into the the silicone. If it doesn't leave an indentation, then it's ready. If it makes an impression, leave it a little longer.
To demould, just peel the silicone away on all sides.
Cast the Mermaid's Tails
Take a piece of gum paste and flatten it. Press this into the fluke area and then work it down from the tail area towards the body. Keep working it along the tail, smoothing it out as you go. You don't need to fill the whole tail but it needs to be long enough to push some of it into the frosting to help it stand up.
Remove the tail gently from the mould.
Set the tails aside to dry for several hours. If the weather is cold or humid, you may need to leave them overnight.
Paint the tail with pastel pink edible paint.
Then dust a little gold lustre dust to highlight the tail and scales.
Add some pink lustre dust to give the tail a pearly look.
Brush on some blue edible glitter on the tail whilst the paint is still wet.
And finally, sprinkle the gold disco dust across the fluke. Once the paint is dry, you can assemble the cupcakes.
Decorate the cupcakes with a few sprinkles or edible glitter and push the tail into the top of the frosting. Because we're using gum paste rather than modelling fondant, you might need to leave them for a couple of days to firm up before placing them in the frosting.
These are perfect for so many different party themes: By the Sea, Little Mermaid, Hawaiian, Tropical, Summer, to name a few.
Not got little girls in your household? No worries. Paint them black and white and turn them into whale's tails or paint them silver and turn them into fish instead and satisfy the fishermen in your life!
Just one last thing before I go.... always keep your food moulds for food only. I seal mine in a ziplock bag marked "food stuffs" so that I don't get them mixed up with the moulds I use for resin.
Pin this project!
Happy Resining!

Subscribe to my email list and learn how to resin like an expert.


