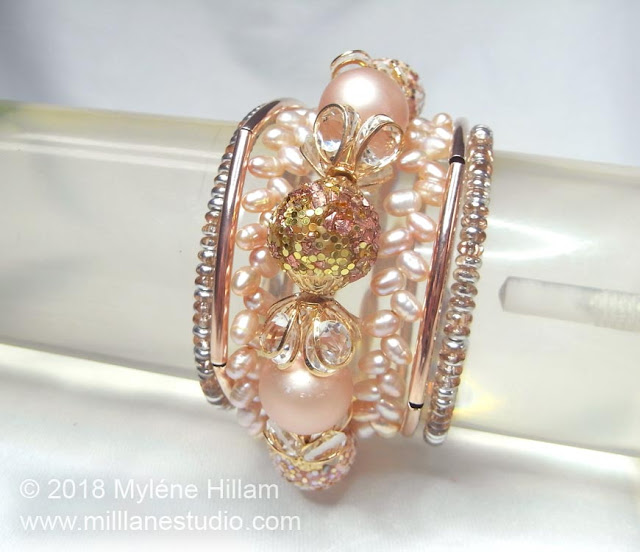
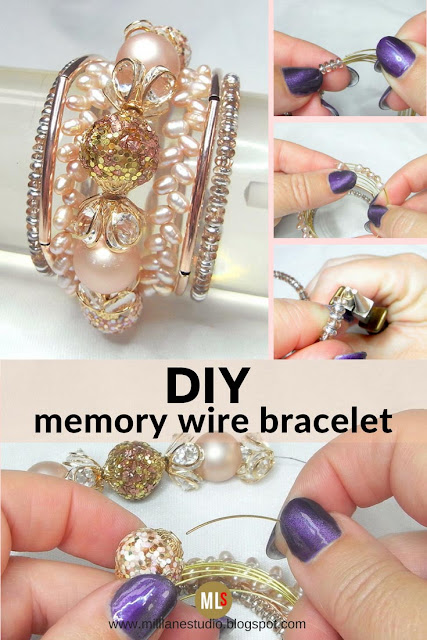
Show Mum how much she means to you this Mother's Day by making her this beautiful Peach Blush Wrap Bracelet. It's a really simple design, but the delicate colour combination of peach and blush, combined with a variety of textures and shapes, makes this a very classy and elegant bracelet. And although it looks complex, it's an easy project, even for a beginner jewellery maker. You can put this bracelet together in an hour or so! This project first appeared in the Summer 2017 issue of Craft Ideas.
Here's a shopping list of the supplies you'll need:
Jesse James Design Elements Pale Dogwood Strand #16mm Peach freshwater rice pearls, angle-drilled (or top-drilled), Peach, 16” strand
Czech rondelle, 4mm x 2mm, peach and silver, four 4.5” strands
Curved hollow tubes, 40mm x 2.5mm, rose gold, ten (substitute these shorter tubes if you can't find longer ones)
Bracelet memory wire, gold
Tools
How to make a Memory Wire Bracelet
Cut a 9-ring coil of memory wire using memory
wire shears. Turn an outward facing loop on one end.
String the Apollo Gold rondelles onto the memory wire. To save time, transfer them to the memory wire by inserting the end into the rondelles whilst they are still on the strand. Once you have strung one full coil, check it for length by wrapping the beaded section of the memory wire around your wrist. It should be long enough to go around your wrist completely. Add more beads if needed. Slide all the beads down to the loop.
String five hollow tubes onto the memory wire. If you've used shorter tubes, then string enough to measure 20cm (8"). Check the length on your wrist again to make sure that there are enough tubes to wrap around your wrist once.
String the rice pearls onto the wire. If you are using angle-drilled pearls, always stringing from the hole on top of the pearl and out through the hole on the side. Once you have strung one full coil, test the bracelet on your wrist to check that you have added enough for one full wrap around your wrist.
Keeping the same order as on the strand, string the Jesse James beads onto the memory wire. This is the centre of the bracelet. String the other half of the bracelet to match, in reverse order.
Slide all the beads up to the loop, removing all the gaps. If you've use angle-drilled pearls, they should be sitting in a wheatsheaf pattern.
Hold the beads firmly in place and trim the wire to 10mm (3/8”).
Turn an outward facing loop to finish the bracelet.
To wear your wrap bracelet, wind it around your wrist and adjust the wrapping until the focal beads sit across the front of your wrist.
Your Mum will love this bracelet. And she'll love it even more when she knows you made it especially for her.... that is, if you can bear to part with it!
Pin this project for later!
'Til next time....

Want to learn how to make jewellery? Click here to find my books and printable pdfs


This is a beautiful bracelet, and I am looking forward to trying it for myself.
ReplyDeleteThank you! And even though it looks complicated, it's a really simple design. It's amazing what the right beads can do!
DeleteVery nice post. Keep Upgrading Thanks for sharing this contant. you can also visit on
ReplyDeleteEjohri to check bracelet design