When single-use plastic bags were outlawed in my little corner of the world, it got me thinking about all the things we consume and throw away every day.
And then I began to notice how much I discarded in the studio.
With every resin project I make, I use
- multiple plastic measuring and mixing cups,
- oodles of wooden stir sticks,
- numerous toothpicks,
- and the list goes on...
This is so bad for the environment ... there has to be a BETTER WAY!!
I've always recommended using clean, NEW cups and utensils because it helps eliminate a possible source of contamination that could potentially ruin your resin project.
But when I discovered that resin doesn't stick to polypropylene (PP) or polyethylene (PE) -- that's what the little plastic measuring cups are made of -- it was a game-changer!
I realised I could STOP THROWING CUPS AWAY and play a small part in helping the planet!
But how do you clean them so you can re-use them?
I'm glad you asked!
To be more environmentally aware, follow these steps to clean your resin cups.
N.B. This will only work if you use Polypropylene or Polyethylene plastic cups or silicone cups.
You can tell if a cup is PP or PE by looking at the bottom of the cup - it will have a triangle with the number 5 in it.
If you're curious, these are the three types of measuring cups I use all the time in the studio:
1oz (30ml) cups;
8oz (250ml) cups;
100ml silicone cups
And here's what you'll need to clean them:
- Acetone;
- Methylated Spirits (denatured alcohol);
- Rubbing alcohol; or
- Baby wipes
How to Clean Cured Resin from your Cups
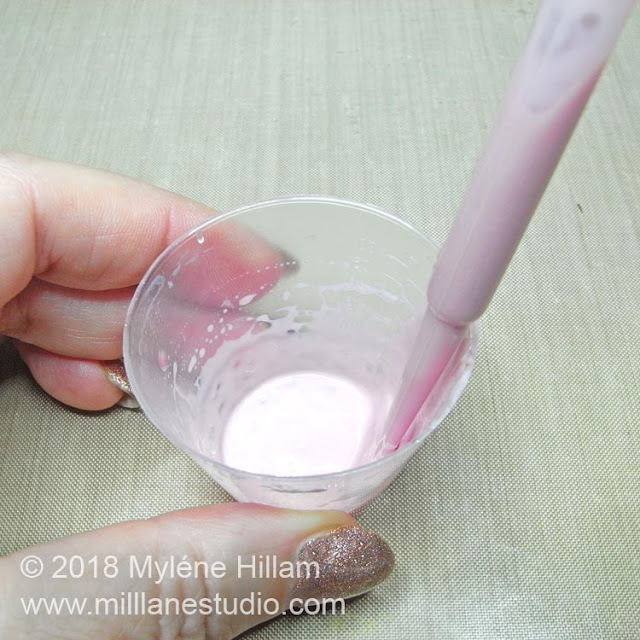
It's a lot less messy to clean your cups once the resin has cured than to try to clean cups with sticky resin, so let it cure first.Expert Tip: Leave the wooden stir stick to cure in the cup with the resin - it will act as a "handle" for removing the resin shell.
First, squeeze the sides of the cup all the way around. This will release the cured resin from the walls of the cup.
Grip the stick and give it a wiggle. I left a pipette in my cup and it's made of polypropylene so even when the resin cured, it didn't stick to the pipette and it pulled straight out!
But if you've used a wooden stir stick, the resin will stick so wiggling it will release the resin from the bottom of the cup.
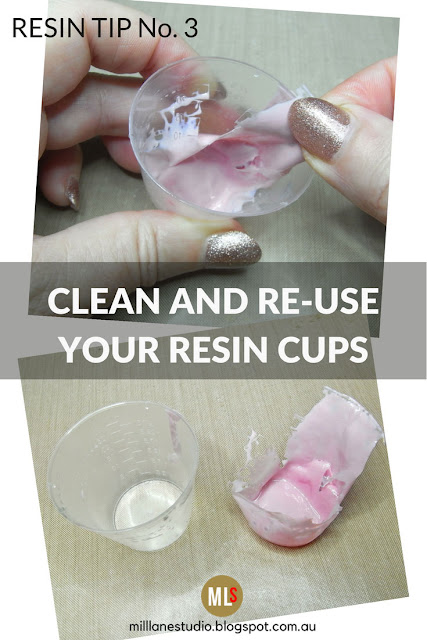
Now you can remove the resin shell from the cup and it will come away completely.
Although the resin skin has been removed, there is still resin inside the cup that needs to be removed.
No matter how well you mix the resin and hardener, you'll find that there is some unmixed resin where the walls meet the bottom of the cup.
Pour the solvent or alcohol onto the tissue, or use the baby wipe and wipe the inside of the cup, making sure that you remove any cured resin that's still on the walls of the cup.
Pay particular attention to the bottom of the cup where the unmixed resin might be. If you leave any behind, it WILL cause problems with the next batch of resin you mix.
Take a clean piece of tissue and clean it a second time.
You may need to use a piece of adhesive tape to remove any stray bits of cured resin left in the cup.
You may need to use a piece of adhesive tape to remove any stray bits of cured resin left in the cup.
And that's all there is to it. Now your cup is clean and ready for re-use.
Watch this short video to see how it's done:
Try this tip out with the next batch of resin you mix. Just let the resin cure in the cup and follow the easy steps above to clean it. It's so much better for the environment to re-use cups.
PLUS, you'll SAVE MONEY that you can put towards other resin supplies.
Now that's a WIN-WIN!
Pin this tip for later!
Subscribe to:
Post Comments (Atom)


Thx for sharing your knowledge
ReplyDeleteYou're welcome. I hope it helps you.
Delete