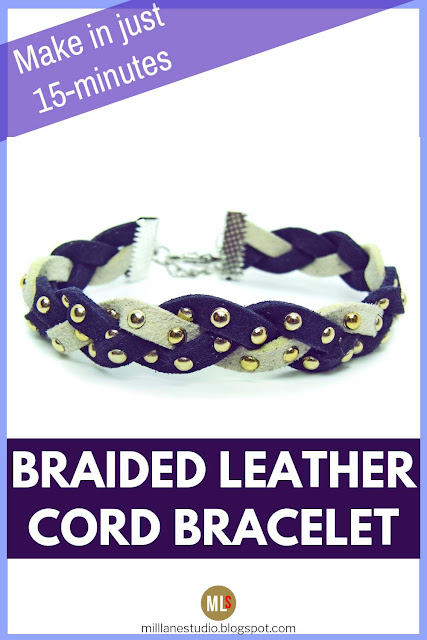
Just because you're short on time, doesn't mean you can't make jewellery. This smart bracelet proves that even the most time-poor among us can still find time to craft! It uses pre-studded faux leather lace and the simplest and easiest weaving technique so you can whip up the braid in no time. Add some ribbon crimps and a clasp to the ends and you can be wearing this bracelet in around 15 minutes! You can buy studded faux suede in a large selection of colours so you can make up lots of these bracelets to suit all the outfits in your wardrobe.
Here are the materials you'll need:
Faux Suede Studded Lace in your choice of colours (I used 2 dark purple with white)
Tools: Fold over clip, nylon jaw pliers, chain nose pliers, scissors
Prepare the Laces
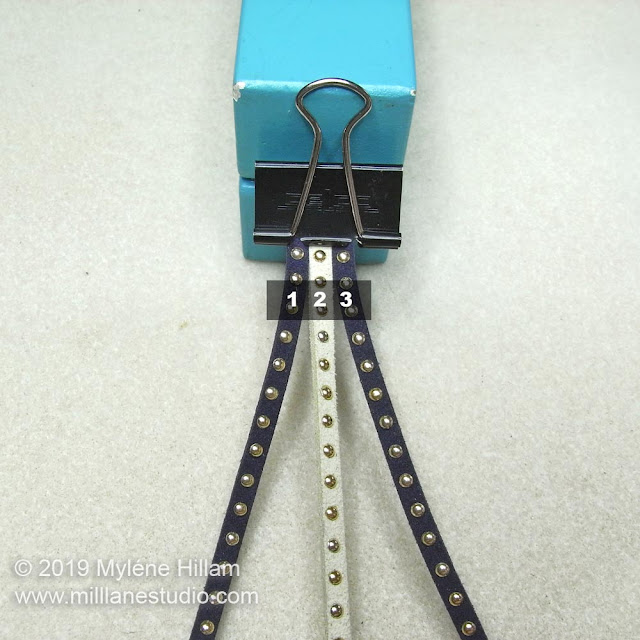
Cut three 23cm (9") lengths of faux suede lace in your choice of colours. Align the ends and clamp them in the fold over clip.
How to Weave a Flat, 3-Cord Braid
The flat 3 cord braid has just two simple movements: Right lace over centre, followed by left lace over centre. This simple weave moves the laces from right, to centre, to left, and then back to centre and finally to it's starting position. This is the set up of the laces. The numbers should help you follow the pattern.Begin by crossing lace 3 (on the right) over lace 2 so that it now sits in the centre. Lace 1 is still on the left hand side.
Cross lace 1 over lace 3 so it sits in the centre. Lace 2 has now become the lace on the right hand side.
Assemble the Bracelet
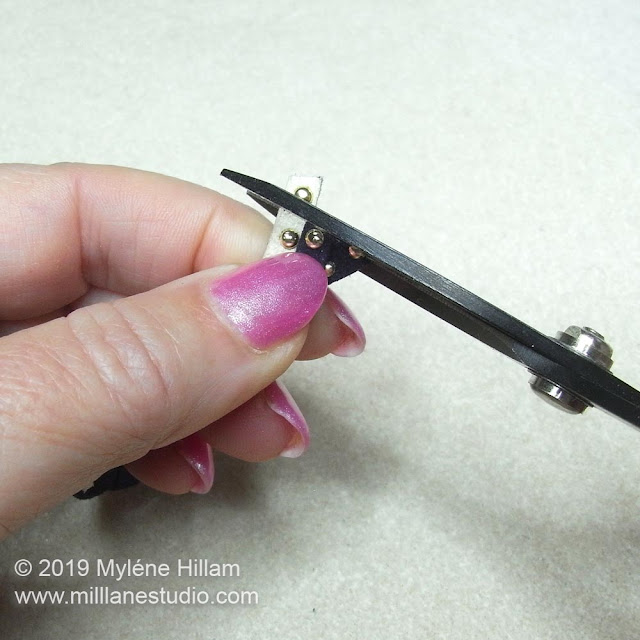
Trim the end laces so that they are even.Place a ribbon crimp over the end of the laces.
Use the nylon jaw pliers to close the crimp firmly over the three laces.
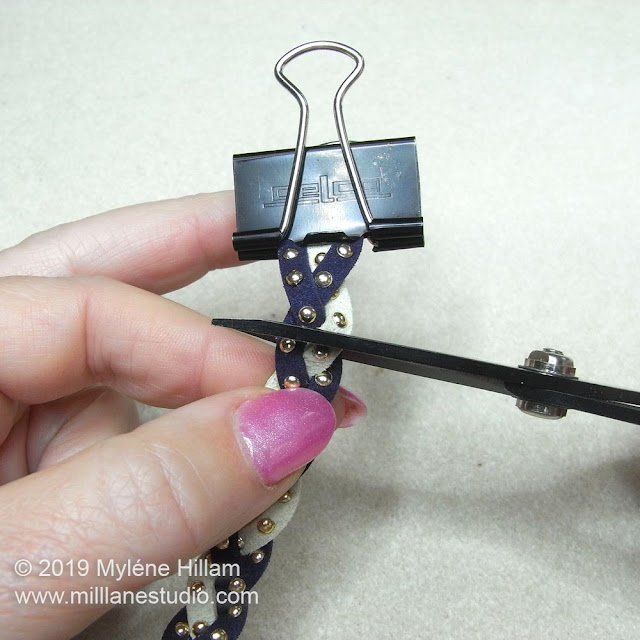
Cut it 2.5cm (1") shorter than your wrist measurement. This will be taken up by the clasp and findings.
Clamp another ribbon crimp over the cut ends of the laces.
Open a jump ring and connect the loop on the ribbon crimp to the lobster clasp.
Attach the extension chain to the other end of the bracelet with another jump ring.
Now, make them up in all sorts of different colours and stack them on your wrist!
Pin the Project!
'Til next time.....

Want to learn how to make jewellery? Click here to find my books and printable pdfs


