So, he finally popped the question, and you said YES. Congratulations!
And now the planning for your special day begins!
Your wedding day is undoubtedly the biggest day of your life so far. And you want your besties to be at your side when you say "I do".
More than being your bridesmaids on the big day, they'll be your sounding board as you work through the madness of wedding planning: They'll help you...
- find the PERFECT wedding dress
- choose the bridesmaids' outfits
- plan your Bridal Shower
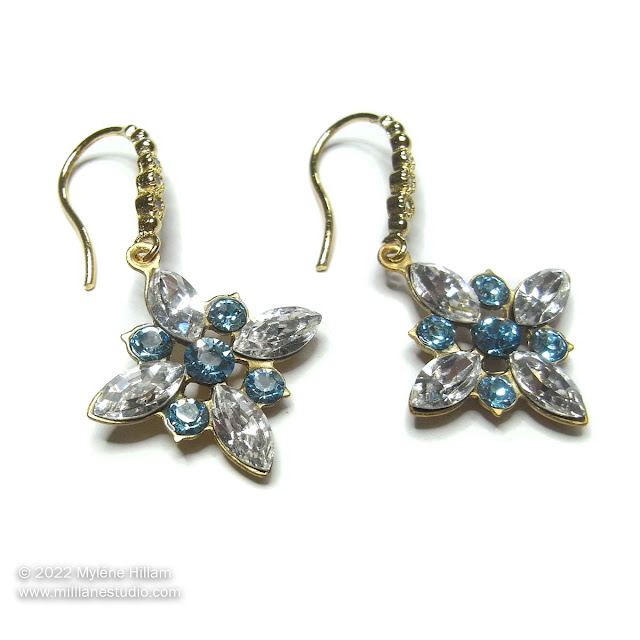
Naturally, you'll want to thank them for all their help. One way of doing that is to gift them some gorgeous sparkly jewellery they can wear on your big day.
It doesn't take long for the wedding costs to mount up and blow out your budget.
Have you noticed that when you add the word WEDDING to anything, the PRICE TRIPLES?!!
Sparkly bridesmaid earrings can easily cost upwards of $50.
If you want to save money but still give your bridesmaids gorgeous sparkly earrings that complement their dresses and that can be worn again (your bridesmaids will thank you for that!), then this jewellery-making tutorial is for you!
You can easily make SEVERAL PAIRS of these dazzling crystal earrings for UNDER $50!
They are a cinch to make, and you barely need any jewellery-making skills!
For this design, I used Swarovski crystals to give them the ultimate sparkle. Since Swarovski stopped supplying the jewellery-making niche, it's getting harder and harder to find genuine Swarovskis, so you'll have to hunt them down.
Can't find Swarovski Chaton crystals?
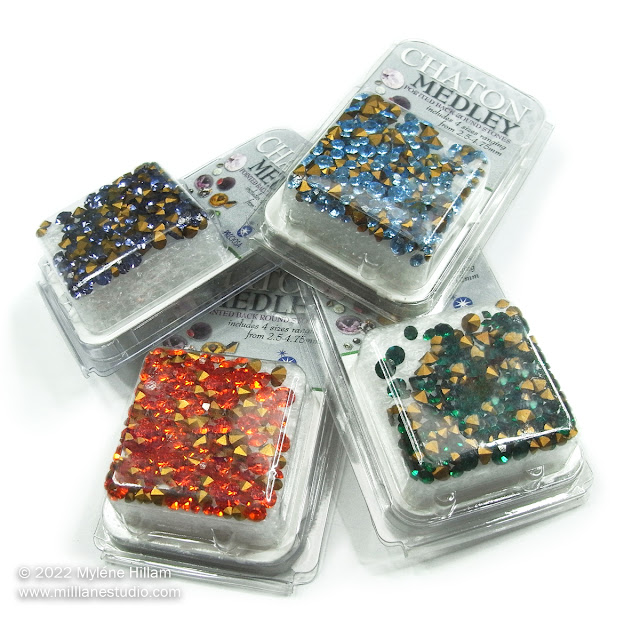
No problem! You can still get good sparkle-power... Preciosa crystals are also super sparkly.
No problem! You can still get good sparkle-power... Preciosa crystals are also super sparkly.
Preciosa Chaton Medley packs come in a range of colours, and each one contains 4 sizes of round crystals - what a bonus! Preciosa crystals are sized the same way as Swarovski crystals, so they are interchangeable.
And if you can't find Swarovski or Preciosa chatons, there are many alternative brands on Amazon.
For this project, choose pointy back (or pointed back) chatons. Pointy backs are also known as V-backs.
Pointy backs are way more sparkly than flat-back crystals because ...
... they have a multifaceted surface
... the faceted back comes to a point like a diamond
... they have a reflective foil backing.
All that combines to create a lot more angles for light to refract off... that's why their sparkle power is superior to flat-back crystals.
The pointed back also allows you to set them into claw and cup settings.
Take a look at the photo below... you can see what I mean by all the different facets reflecting the light.
The photo above shows all the jewellery supplies you'll need to make your gorgeous crystal earrings. To make shopping for this project easy, I've included links in the shopping list to similar materials.Here's Your Shopping List:
- 2 x 15mm raw brass setting
- 8 x 3.5mm x 7mm horse-eye crystal OR 4mm x 8mm Swarovski navette (crystal)
- Preciosa or Swarovski Chatons in your colour choice -
- 8 x PP24 (approximately 3mm)
- 2 x PP31 (approximately 4mm)
- 2 x Cubic Zirconia Earring Hooks (these are similar)
- 5-minute epoxy adhesive
- Plastic lid to mix the adhesive on
- Toothpick
- Wooden craft stick to mix the adhesive
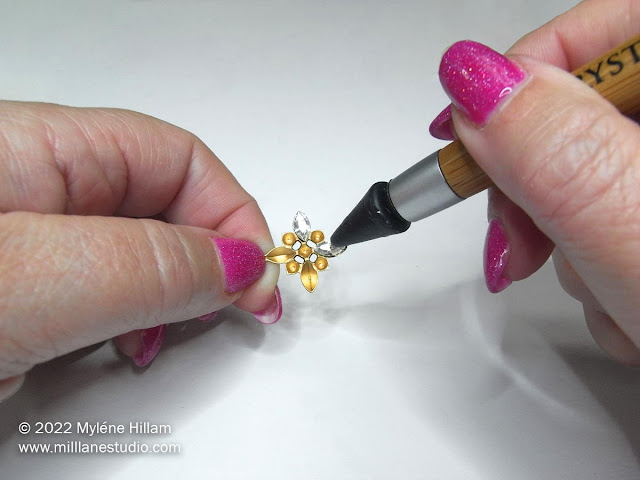
You'll also need chain nose pliers and a Crystal Katana. This nifty tool helps you pick up and precisely place the crystals into position.
How to Make Sparkly Crystal Wedding Earrings
When making DIY jewellery, we usually think of jewellery-making techniques like opening and closing jump rings and making simple loops to connect the components together.
This design is so simple that you need only ONE of those techniques... plus, one that you might not have considered for making jewellery before - gluing crystals into preshaped brass cup findings.
Brass cups come in many shapes and designs, both with and without claws. They're designed to fit the gorgeous pointy back crystals that Swarovski, Preciosa and many other crystal suppliers make. For this project, we're using cups without claws, so you can just glue the crystals into place. Simple!
Search for them on Etsy or specialty bead shops that supply crystals, but you really can't go past the Bead, Trimming and Craft Co for the best selection of shapes and sizes.
Once you've selected the shape and crystals of your choice, you're ready to start.
Setting the Crystals in the Cup Finding
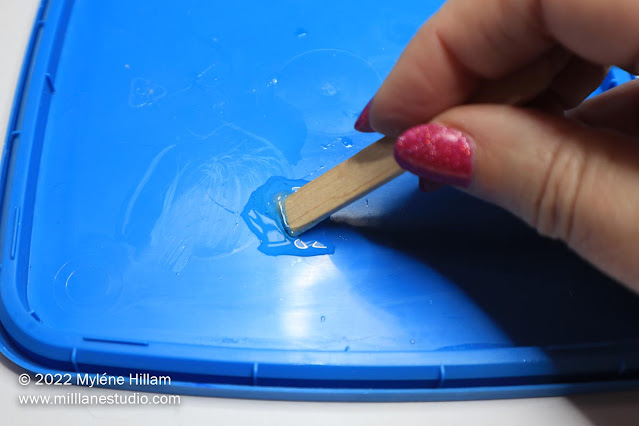
Squeeze a small amount of each part of the 5-minute adhesive onto the plastic lid and mix them together thoroughly. Do this in batches because it sets up so quickly.
To see how to mix 5-minute epoxy correctly, see this tutorial.
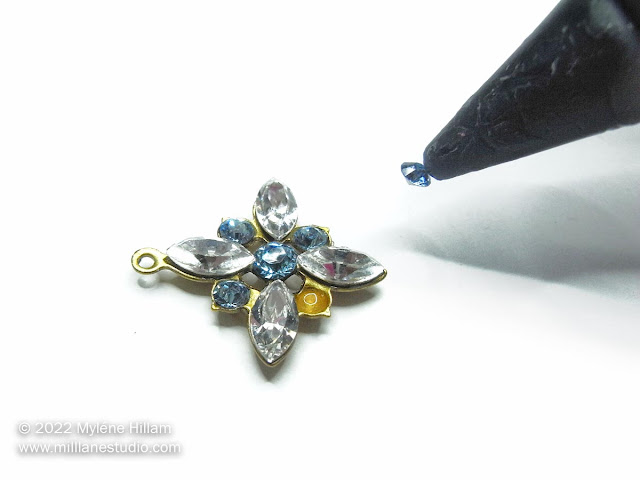
Pick up a navette with the silicone tip of the Crystal Katana and position it on the adhesive. Repeat with the other 3 crystals.
Then glue in the coloured chatons.
Set the remaining crystals in the other brass cup finding and leave them long enough for the glue to set before continuing.
Assembling the Earrings
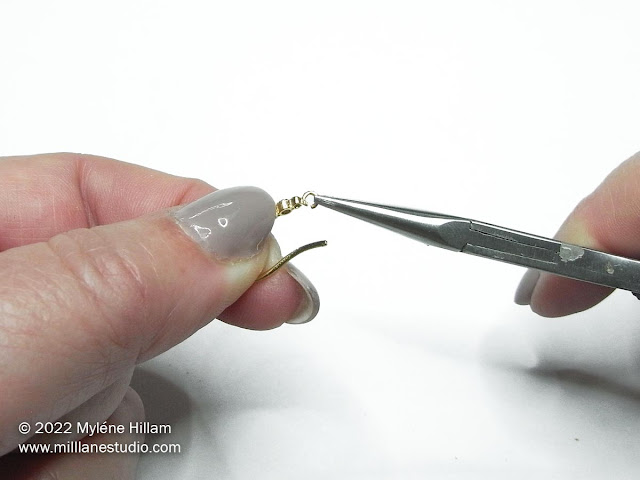
Open the loop of the earring finding with chain nose pliers.
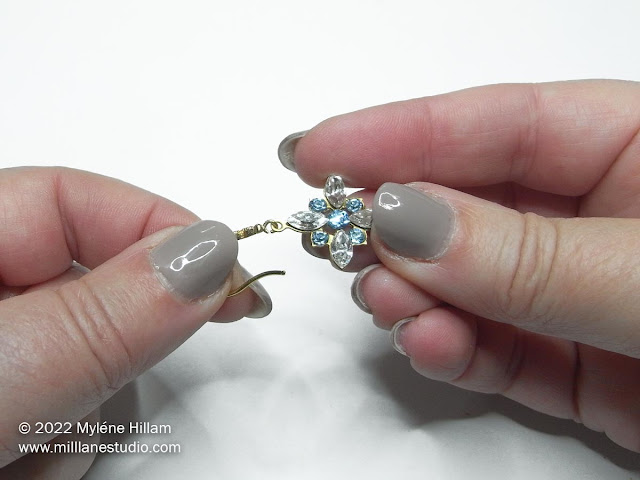
Hook the loop of the crystal component onto the opened earring wire loop.
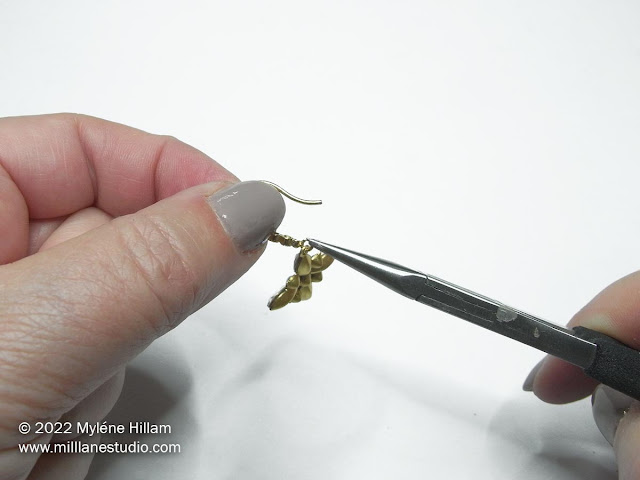
Close the loop of the earring wire. The loop of the brass cup finding is very fine, so make sure you close the earring loop well, or the crystal component will work its way off the earring wire.
I told you it was SUPER EASY.
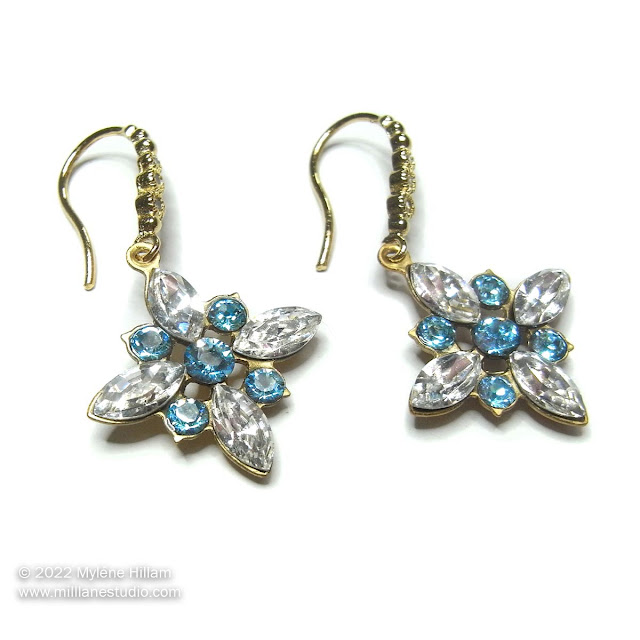
And yet, these earrings look incredibly stunning and way more expensive than they actually are.
Your bridesmaids will probably never wear their gorgeous dresses again.
But these earrings are a totally different story... they can easily be worn with other outfits without looking like bridesmaid's earrings.
And if you switch out the coloured crystals for clear, these earrings would also be stunningly simple for a bride.
Places to look:
- Amazon
- Etsy
- eBay
- Swarovski dealers
- Specialty bead shops
- Google Search
And here are some search terms to help you locate them. Try them in different combinations:
Shape:
- Chaton
- Pointy Back / Pointed Back
- V-back
- Cone back
- Diamond back
Material:
- Crystal
- Cubic Zirconia / CZ
- Rhinestone
- Diamante / Diamanté (sometimes spelled diamonte)
- Coloured glass
Cut:
- Multi-faceted
- Xilion
- Xirius
- Austrian crystal
- Czech crystal
- Preciosa Maxima
- Dreamtime Crystal Verve
Brand:
- Swarovski
- Preciosa
- Dreamtime Creations (DC)
Want to SAVE this tutorial for later?
Then Pin It!

