I got totally drawn in by the moving limbs of this skeleton mould. It was
ideal for making Halloween skeleton earrings... but I like my moulds to be
versatile to get good value from them.
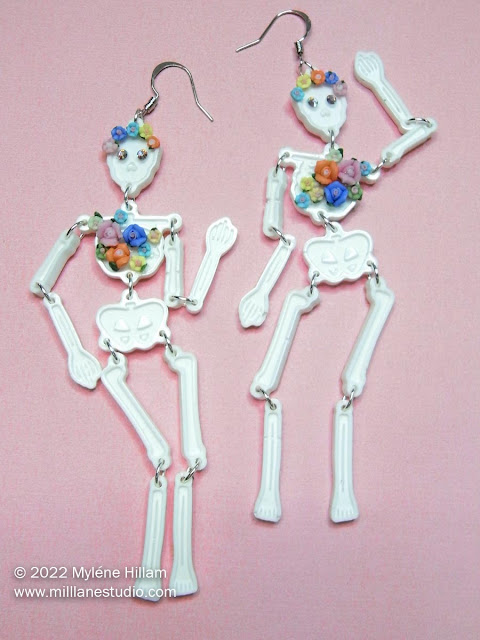
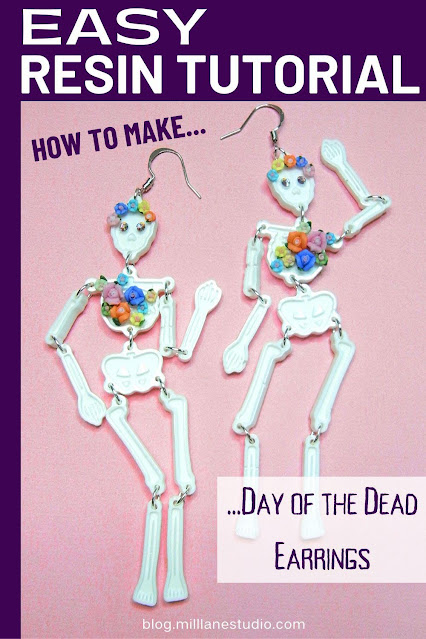
With a minor tweak to the embellishments, you can easily turn the skeleton
into a Calavera design.
These are seriously neck-tickling earrings for Day of the Dead
festivities?
While this is an EASY resin project, it's a little fiddly because of the
size of the body parts, so spooning the resin into the mould works much better than
trying to pour it. You'll also find tweezers, fine-tipped adhesive, toothpicks
and a
crystal positioning tool
really helpful as you work through the steps.
Here's a list of supplies you'll need:
20 x 6mm jump rings
2 x 5mm jump rings
2 x earring wires
Tweezers
Chain nose pliers
Toothpick
Nitrile gloves
and protective eyewear
As with any resin project, you need to keep your health and safety in
mind and wear gloves and goggles whenever you handle the resin.
Measure, Mix, Colour and Pour the Resin
Tip: It takes a little over 5mls resin to fill both the skeletons so if you
are making a pair of earrings, measure out at least 6mls of resin or you
won't be able to fill the body parts to the top of the mould.
Most graduated plastic cups have measurements for 2.5ml and 5ml so you need
to carefully measure out a little more of each part to make up 6mls.
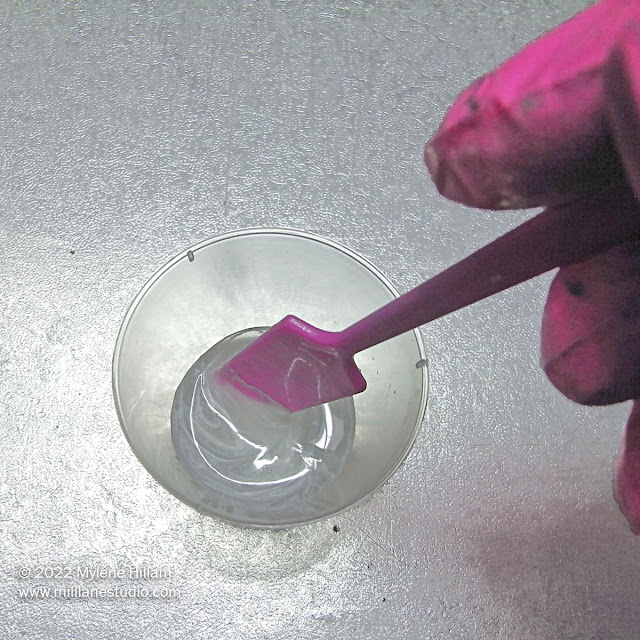
If you're using a 1:1 ratio resin, measure out 3mls resin and 3mls of hardener and mix the two together
thoroughly. (For a 2:1 ratio resin, then measure 4mls and 2mls.)
Drip the resin into the mould.
To eliminate air pockets in the fine detail of the mould, run a toothpick
around the inside bottom edge of each piece. This should dislodge most of the
bubbles so the limbs don't have holes along the edges.
Leave the resin to cure for 24 hours.
Flex the mould to demould all the pieces.
Decorate and Assemble the Calavera
This is the fun part... decorating the skull and rib cage with miniature
flowers.
I used miniature Fimo nail art roses. The small ones are 3mm and the
larger ones are about 6mm. You don't have to use roses... any mini flowers
will work. But I recommend looking for nail art supplies to find flowers
small enough.
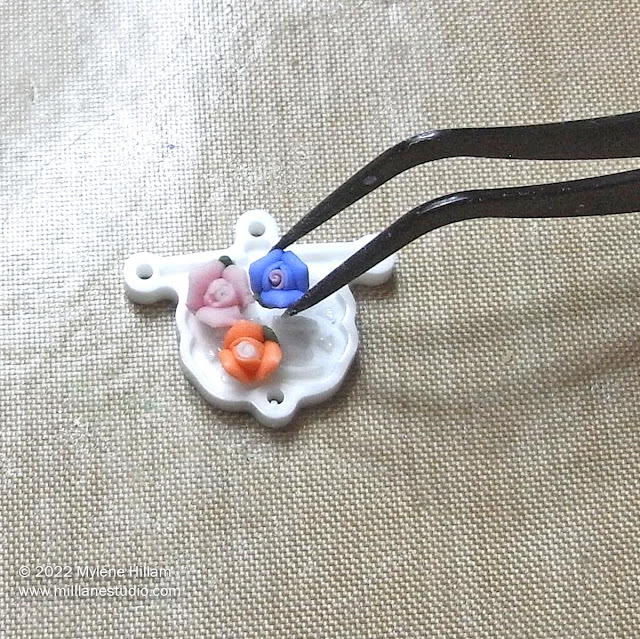
Select the flowers you want to use and position them on the resin, rearranging
them until you're happy with the design.
Use a generous amount of adhesive on the back of each one so that the resin
oozes down into the ribs for a secure bond.
The tweezers make working with such small flowers a little easier.
Position the flowers on the chest and around the skull to create a garland.
Attach the crystals to the eyes and let the adhesive set for 10 minutes
before assembling the skeleton.
Assembling the Skeleton
You only need to know one jewellery-making technique to assemble the
skeleton: how to open and close jump rings. If you've never done that
before,
this tutorial
shows you how to do it.
Connect all the bones together with the 6mm jump rings.
Once the skeleton is assembled, you can connect it to the earring wire.
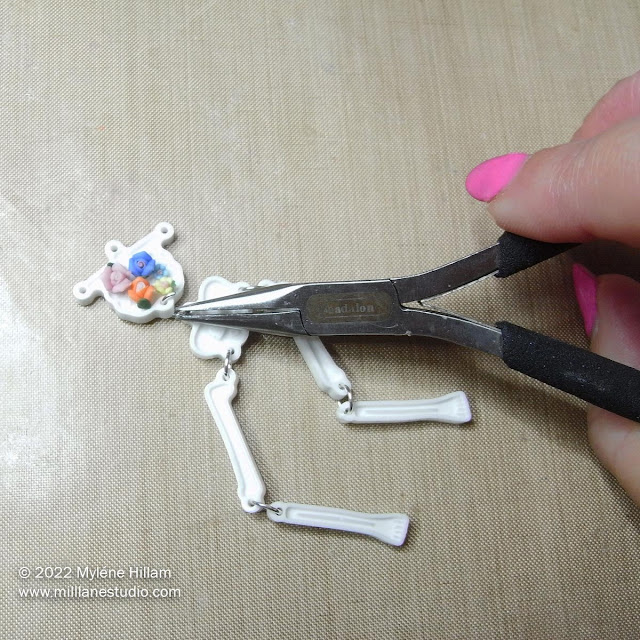
The loop on earring wires usually faces sideways and that doesn't suit this
project, so we're going to twist it 90° to face the front.
Grip the loop with the pliers and turn it. Do this carefully so you don't
weaken the steel and snap the loop off.
Insert the 5mm jump ring through the skull and hook it onto the loop of the
earring wire.
These Calavera-inspired earrings are drop-dead gorgeous (pardon the
pun)... definitely Day of the Dead Style!
If you've loved this project then...








Thanks, France
ReplyDelete