 |
I've found a stronger adhesive that gives a much more secure bond: 5-minute epoxy adhesive.
5-minute epoxy comes in two parts, just like resin. In fact, the epoxy that you use in your moulds is also a strong adhesive... it just cures slowly. And that's the beauty of 5-minute epoxy... it's SUPER STRONG and it cures fast.
Here are some of its benefits:
- 5 minute setting time - no clamping required
- It bonds to china, metal, glass, leather, rubber, wood, rock, leather and most plastics
- It has a thick consistency, so it can be used to fill hollows if the two surfaces aren't flat
- It's stronger than E-6000
- It's stronger than Super Glue / Crazy Glue
You can purchase it in a plunger/syringe cartridge or as two separate tubes.
The plunger arrangement is convenient because it helps you dispense equal amounts of both parts. It's also usually more expensive than the tube option.
Just like epoxy, it comes in two parts: a resin and a hardener. To make sure that you get the best results with it, you need to mix it properly. And as with your regular casting epoxy, if you don't mix it well enough, it won't cure.
How to Mix 5-Minute Epoxy
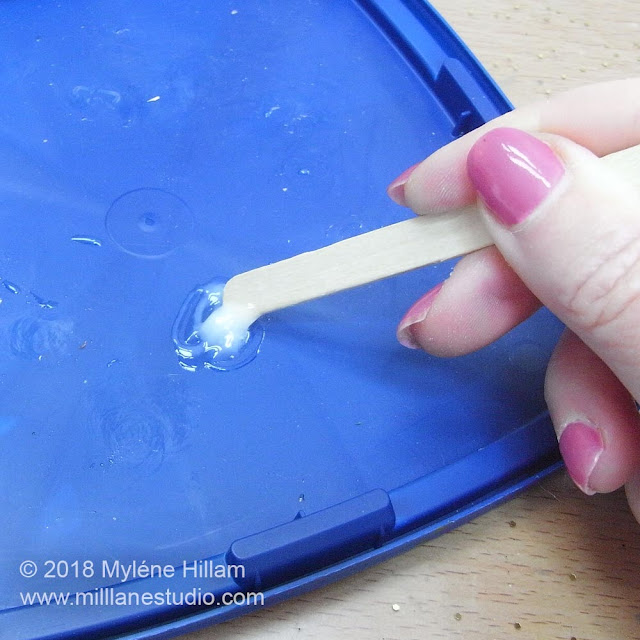
Start by dispensing equal amounts of each part from the tubes or syringe onto a plastic surface. Use something plastic like an ice cream lid because the cured adhesive can easily be removed and the lid reused.Take a paddle pop stick and begin mixing the two parts together. It's important that you scrape all the adhesive from the edges into the middle so it can be mixed in thoroughly.
Now keep mixing it with the paddle pop stick and you will notice it becomes a milky white appearance as you mix and the tendency is to think that it's going off and that you should use it at this stage.
But not so... this is just part of the mixing process. Keep mixing! Mixing a small amount like this will take around 2 minutes.
It will become clear again and that's when you know it's ready to use.
Now apply it to the surface of the jewellery blank. You don't need to apply it too thickly or spread it all the way out to the edges as it will ooze out in the next step.
Position the cabochon onto the adhesive.
Then flip the piece over and make sure the jewellery blank is centred on the back of the cabochon. Hold it for a couple of minutes until the adhesive has grabbed. If you set it down too soon, the cabochon may slide off centre.
Leave the piece to cure for several hours before wearing them to give the adhesive a chance to cure. But refer to the directions on your adhesive which will tell you how long it takes until the bond reaches full strength.
Happy Resining!

Subscribe to my email list and learn how to resin like an expert.
It will become clear again and that's when you know it's ready to use.
Now apply it to the surface of the jewellery blank. You don't need to apply it too thickly or spread it all the way out to the edges as it will ooze out in the next step.
Position the cabochon onto the adhesive.
Then flip the piece over and make sure the jewellery blank is centred on the back of the cabochon. Hold it for a couple of minutes until the adhesive has grabbed. If you set it down too soon, the cabochon may slide off centre.
Leave the piece to cure for several hours before wearing them to give the adhesive a chance to cure. But refer to the directions on your adhesive which will tell you how long it takes until the bond reaches full strength.
Pin these tips for later!
Happy Resining!

Subscribe to my email list and learn how to resin like an expert.


