Inside: Learn how to tie off a stretch bracelet securely with a hidden knot so that it doesn't come undone. Plus, tips on how to stop your elastic cord bracelet from overstretching.
One of the quickest and easiest ways to make jewellery is to string beads on stretch elastic and tie it off. Without a clasp to wrangle with, they are super easy to put on and take off.
Stretch bracelets are perfect for beginner jewellery makers (both adults and children alike!) because no jewellery making skills are required to make them!
The hardest part of making these bracelets is tying the knot.
If you'd like to learn how to knot elastic beading cord so it doesn't come undone, then read on for my tips on how to make a stretch bracelet and tie it off securely.
A gorgeous stretch bracelet like this one takes just 10 minutes to make, so this is an ideal jewellery project if you don't have enough time to fit crafting into your busy life.
Shopping List
Here Are the Supplies You'll Need:
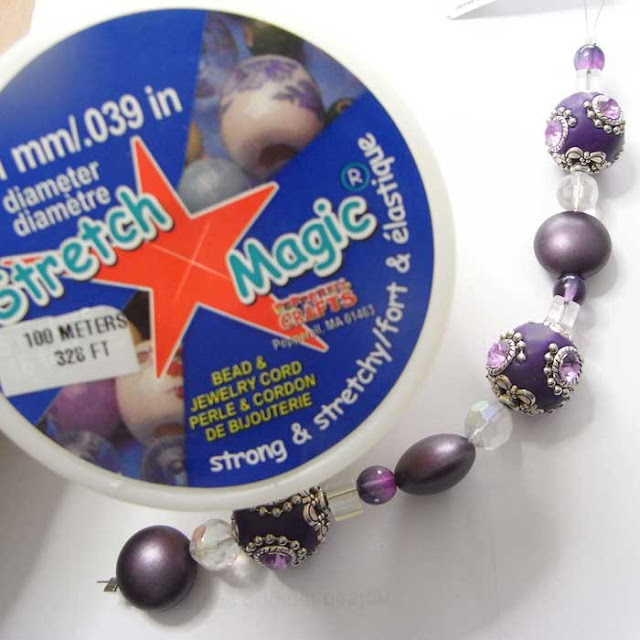
- Clear Stretch Magic 1mm Beading Cord
- Ornate focal beads: purple; white; dark blue; light blue; black; or choose a bold multicoloured mix or a pastel mix
- glass or acrylic bead mix to fill out the bracelet
- Bead stopper (these are a godsend for stringing projects)
- Scissors
- G-S Hypo Cement
What Size Stretch Beading Cord Do I Need?
When buying beading elastic, always choose the THICKEST ELASTIC CORD that will fit through your beads.
I've suggested 1mm elastic cord for this project because it's strong and will fit through most beads.
If you have a mixture of beads with different size holes, find the bead with the smallest hole and choose the thickest elastic you can get through that bead. Stretch Magic is available in a range of thicknesses from 0.5mm - 1.8mm.

Before we get into my expert tips for making jewellery with stretch cord, if you're here to learn how to make jewellery, you'll want my cheat sheet of 5 basic jewellery-making techniques. CLICK THE BUTTON below to get access to it NOW.
How to Make a Stretch Bracelet
Cut a piece of Stretch Magic the size of your wrist, plus 10cm (4").
About 30cm (12") is a good length to work with for an average-sized wrist. 
Elastic cord bracelets should sit firmly and comfortably on your wrist. After a few wears, the cord loses its elasticity and doesn't bounce back to its original size. If you've worn stretch bracelets in the past, you've probably seen this happen.

Pre-stretch the Beading Elastic
Elastic cord bracelets should sit firmly and comfortably on your wrist. After a few wears, the cord loses its elasticity and doesn't bounce back to its original size. If you've worn stretch bracelets in the past, you've probably seen this happen.
Overstretched bracelets will likely fall off or get hooked on something and break.
The best way to avoid overstretched bracelets is to pre-stretch the cord by holding the elastic at each end and pulling it taut three or four times. This helps minimise the elastic from stretching as much after you've worn the bracelet a few times.
Stringing the Beads
Lay out the beads you've chosen in a line and move them around until you're happy with the pattern.Place a beadstop on one end of the elastic. You'll be grateful you used this smart little gadget because it stops the beads from slipping off one end while you're still stringing the beads on the other. LOL!
Thread the beads onto the elastic cord one at a time.
 Tip: Make sure that either your first or last bead is a large-holed bead. That way, you can hide your knot inside the bead so it's not seen!
How to Tie a Secure Knot
The challenge with making a stretch bracelet is tying a knot that won't come undone.
Wrap one end of the cord around the other and pull it so that the beads are drawn together in a circle. This is the first part of the knot (a half-knot or overhand knot).
Repeat twice more, making sure you pull each knot tightly.
Even with this many knots, beading elastic can still work its way undone with time. The SECRET to preventing that is to secure the knot with a flexible adhesive.
The best glue for Stretch Magic is G-S Hypo Adhesive because it has a super-fine needle tip to get it into tight spaces.
Dab the adhesive all over the knot and leave it to dry.
This method is the most successful way I've found to tie off Stretch Magic so that the knot doesn't come undone.
How to Care For Your Stretch Bracelet
With proper care, your stretch bracelet will be wearable for a long time.
- Stretch elastic breaks down when exposed to water and extreme temperatures (both hot and cold). Remove your bracelet whenever you're showering, swimming or whenever you have your hands in water.
- Keep your bracelet away from chemicals, including that beautiful fragrance, body lotion, or liquid handwash. These will all break down the elastic in time.
Remember I talked about pre-stretching the cord so the bracelet doesn't overstretch in time? Here's another tip to help prevent overstretching:
When you put on your bracelet, don't stretch it to fit over your hand. Instead, slide it over your fingers, and then ROLL IT over your palm and onto your wrist.
To remove it, roll it off the same way.
Rolling the bracelet on and off minimises the stretching of the elastic cord. PLUS, it reduces the stress on the knot... Double bonus!
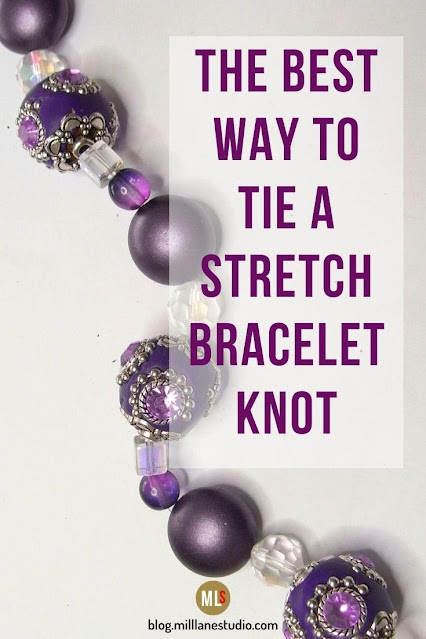
Pin this for later!
'Til next time.....

If you can't get enough of My Tutorials and you want even more inspiration, click here to find my books and printable pdfs


I wasn't aware of the tip about pre-stretching--thanks!!!
ReplyDeleteGlad you found it useful Mary. Thanks for stopping by.
DeleteI didn't know about the pre-stretching either. Great tip! Now none of my bracelets won't stretch over time!
ReplyDeleteIt might still stretch a little bit but it will reduce it greatly Michaela.
Deletethis looks really cool I'm just a beginner doing mostly chocheted jewelery for a winter craft show but mostly giving all my stock away !!!!!!!!!!! but thks Dee
ReplyDeleteYour jewellery sounds interesting Dee. Good luck with your winter craft show!
Deletegreat gifts for my granddaughters !
ReplyDeleteI made these for my nieces and they loved them. I'm sure your granddaughters will too, Sherry.
Deletedo you use glue to knots before pushing knots into bead?
ReplyDeleteYes, I do, Polly. I use G-S Hypo Cement because it has a fine needle tip, it dries clear and it remains flexible. I've linked to it in the supplies list so you can see what the product looks like.
DeleteSo pretty! Thanks for sharing all your tips so others can enjoy making these beautiful pieces. Much love and joy..
ReplyDeleteYOU'RE WELCOME. I'M GLAD YOU LIKE THIS BRACELET. ITS BEAUTY LIES IN ITS SIMPLICITY.
DeleteLove this bracelet and love the way you write your tutorials. So easy to understand. Thank you.
ReplyDeleteI'm glad you find my tutorials easy to follow. Thank you for your feedback!
Delete