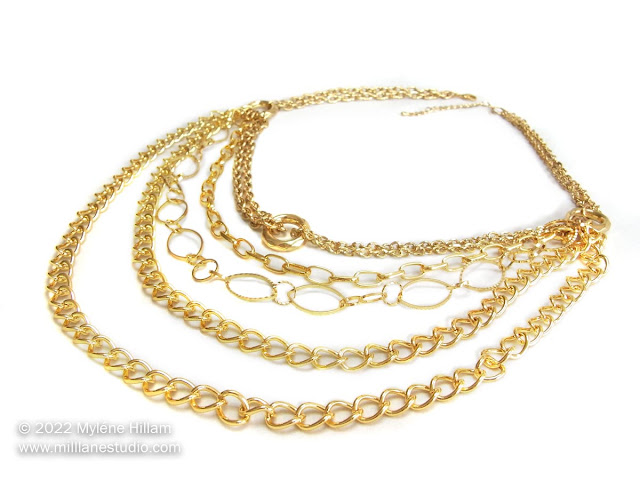
Inside: Learn how to make an eye-catching layered chain necklace using fancy-link chains.
Can't decide what length necklace to wear?
Then why not WEAR THEM ALL AT ONCE... and make a multi-layered chain necklace!
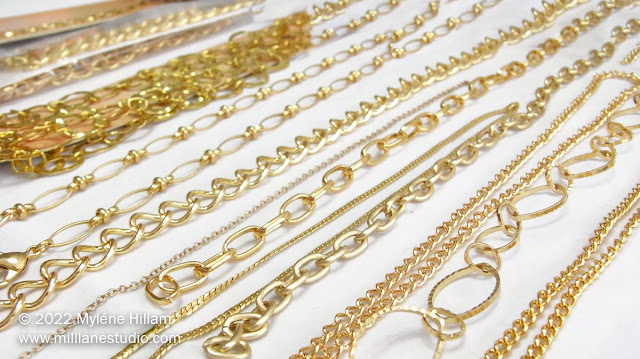
The secret to this QUICK and EASY project is to choose a combination of bold, chunky chains and chains with fancy links.
This is such an eye-catching and ostentatious necklace. Yet the beauty of it lies in its simplicity - it all comes down to the chains that you choose!
You can purchase the fancy chains by the metre or foot, but you might find it more economical to pick a curb or cable chain as the major component of the design and buy a roll of it so you can use it for a couple of layers.
As showy as this necklace is, it comes together very quickly. And the only jewellery-making skill you need for this design is how to open and close jump rings.
If you need a refresher on how to do that, this post shows you a neat trick that makes them strong and secure.
The Basic Supplies for this Necklace are:
- Fancy chain
- Cable or Curb chain
- 2 Connector ring components
- 14 6mm jump rings
- Parrot or lobster clasp
- chain nose pliers
- wire cutters
How to Make a Multi-Layered Chain Necklace
Select the chains you want to use:
An odd number gives the necklace a balanced look so aim for 3 or 5 for the layers.
Choose different size links and different shapes to add texture and interest.
How Long Should Each Length of Chain Be Cut?
Once you've chosen the chains you want to use, you need to work out how long to cut them. There are no exact measurements for this because the chunkiness of your chains determines how long they need to be. But the larger links will be the longest lengths and the smaller links will make up the inside layers so they will be cut shorter.
The layers drape from your collar bone so you also need to cut a length of necklace chain from your collar bone to the back of your neck. It needs to be strong enough to support the weight of the chunkier chains. I used the same chain as I did for the inner layer of the necklace but I doubled it to distribute the weight.
The best way to determine how long to cut the lengths is to lay them on your workspace in a semi-circle, with the thinner chains on the inside, graduating to the bulkiest chains on the outside. Then adjust them until you're happy with how they sit.
Now you can cut the chains with the wire cutters.
Open the jump rings and connect one end of each chain to a connector ring, keeping them in order from shortest to longest.
Tip: Lay all the chains out flat on the table so there are no twists in them when you connect the other end to the second ring component.
Now your focal piece is assembled, cut a length of chain for each side of the neck.
Connect the clasp to one of the chain ends and a jump ring to the other.
Tip: If you add a short piece of extender chain to the jump ring, you can adjust the necklace to different lengths to suit your outfits!
Pin This Project!


